
Project Arc
@ProjectArcDev
Accessible Astronomy • Low Cost Small-Board Driven • 3D Printing • Calibration Automation • Fast/Lightweight C/C++ Framework • Web-Based UI
You might like


After moving the project to a new OS, I've decided to move to Apache Netbeans v9 and upgrade OpenCV to v3. Some tying up of loose ends required to progress further.
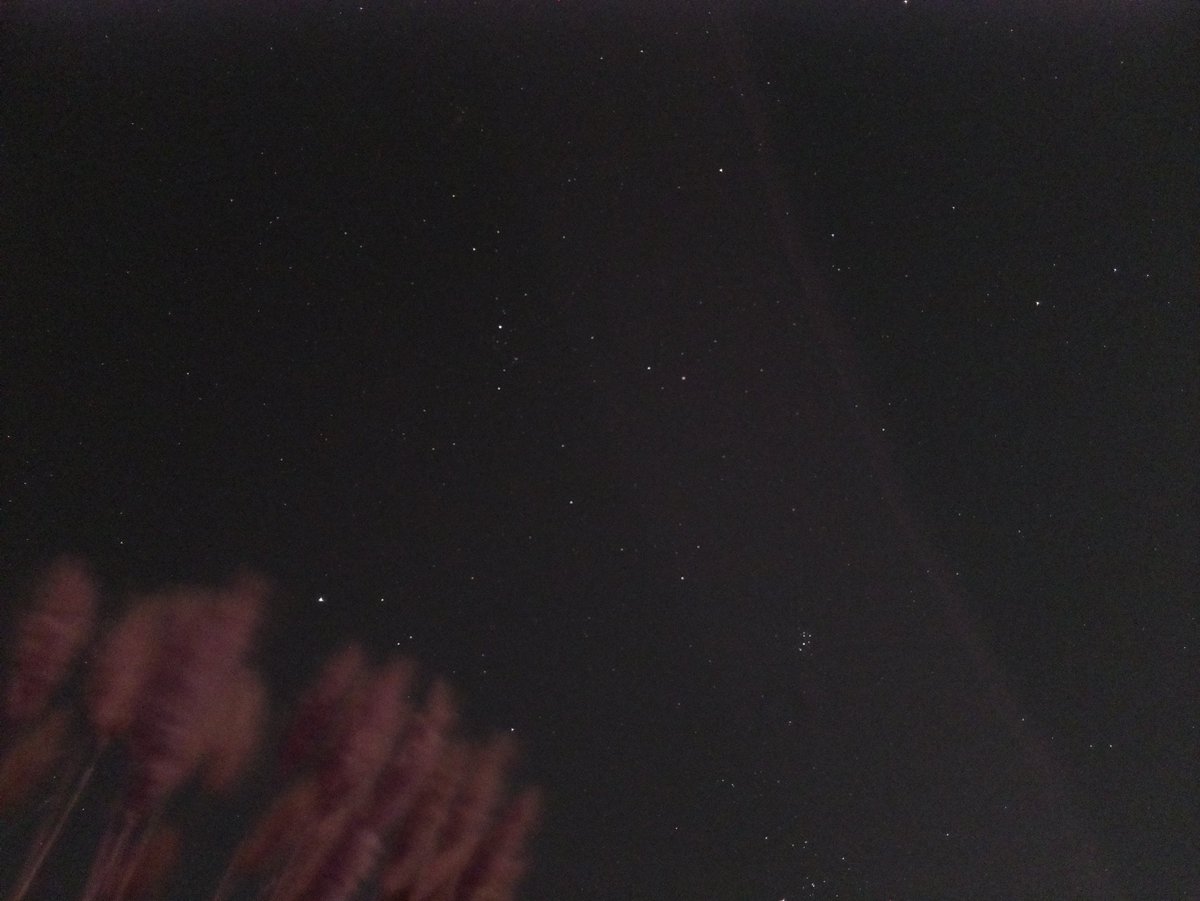
Managed to get some images from the v2 Pi camera. Hoping to run them through recognition and work out optimal parameters for configs.


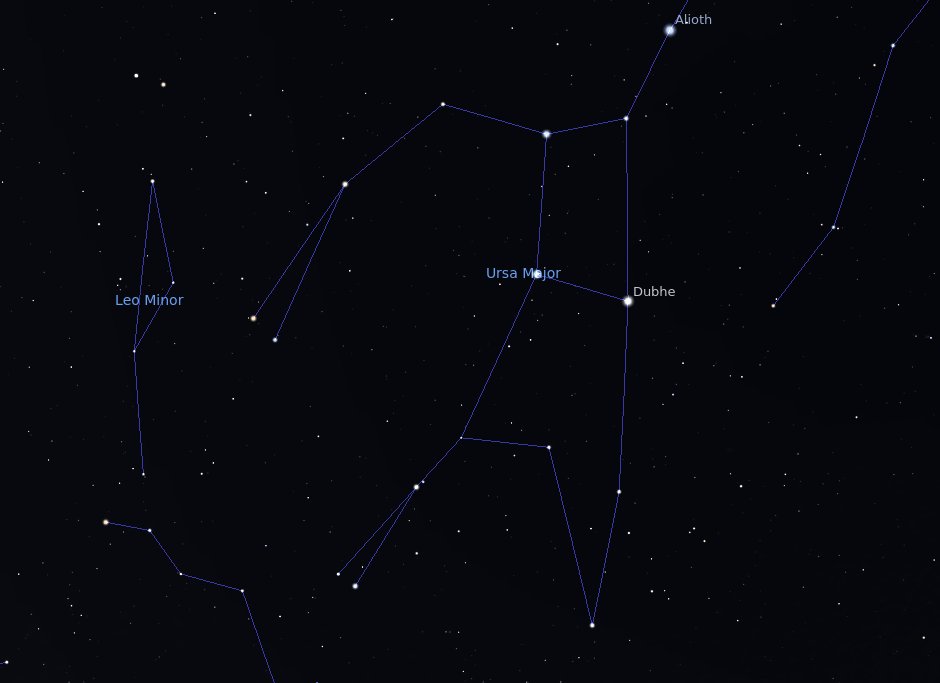
The @StellariumDev devs have released a JavaScript renderer for the web. I'm really impressed. Going to take a dive at some point. github.com/Stellarium/ste…
github.com
GitHub - Stellarium/stellarium-web-engine: JavaScript planetarium engine
JavaScript planetarium engine. Contribute to Stellarium/stellarium-web-engine development by creating an account on GitHub.
Worked on some small optimisations to speed up recognition. Swapped over the test camera from 1.3 to 2.1. Now need to wait for clear skies so I can collect test images for the new rev camera and see what changes in settings are required.
Command line for position recognition now supports both existing images and images retrieved from the built-in Pi camera. Now working on the optimisations for initial selection of points.
Command line support added successfully with some small tweaks needed at some point. Auto Pi camera support next so an image can be caught, processed and results output same as existing ones.
Been working on adding command line argument support to the positioning part of the project. Also plan to upgrade Pi camera on the test rig from v1.3 to v2.1 at some point soon.
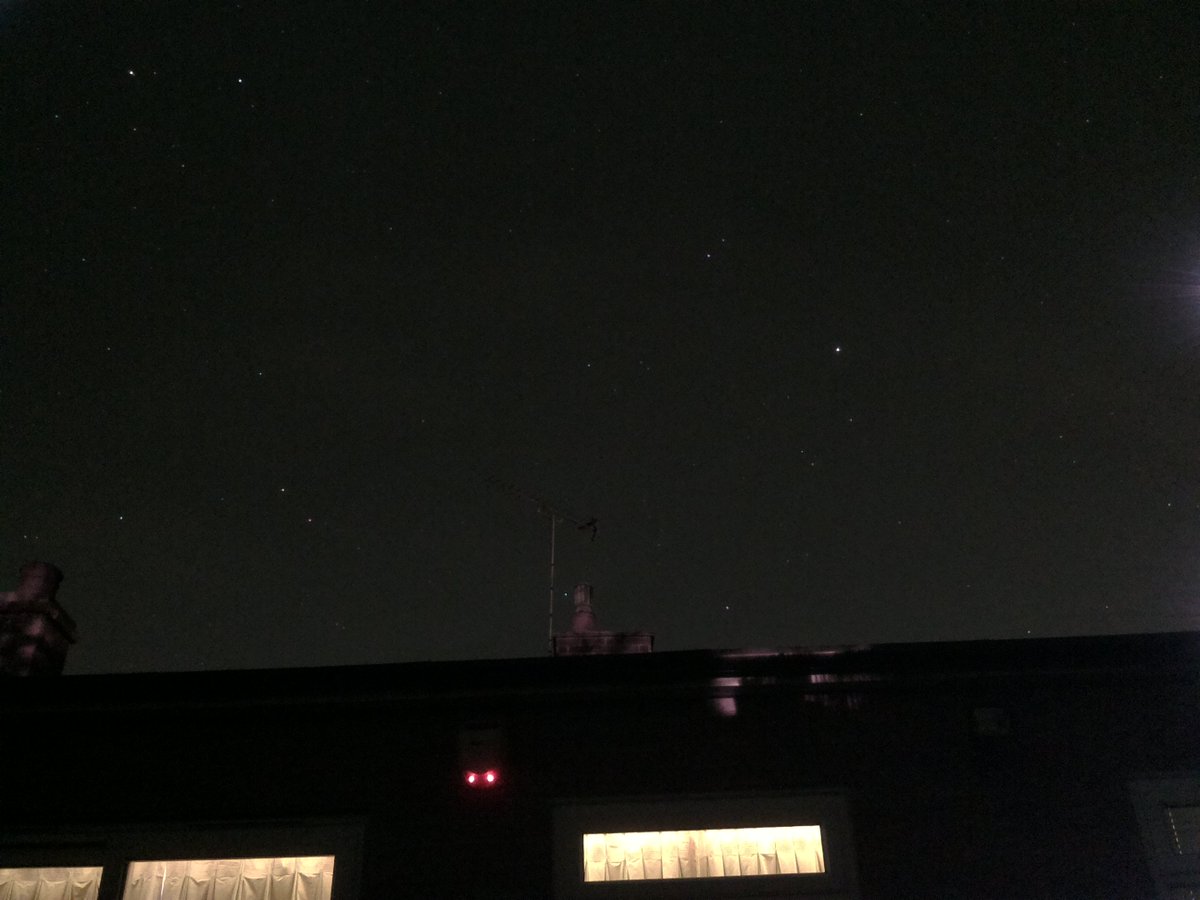
Of the 17 images processed, the project managed to resolve 14 with the current algorithms/approach. I'm really happy with that, especially considering it has to contend with trees, buildings and fencing and unoptimised code. Images: original & processed.
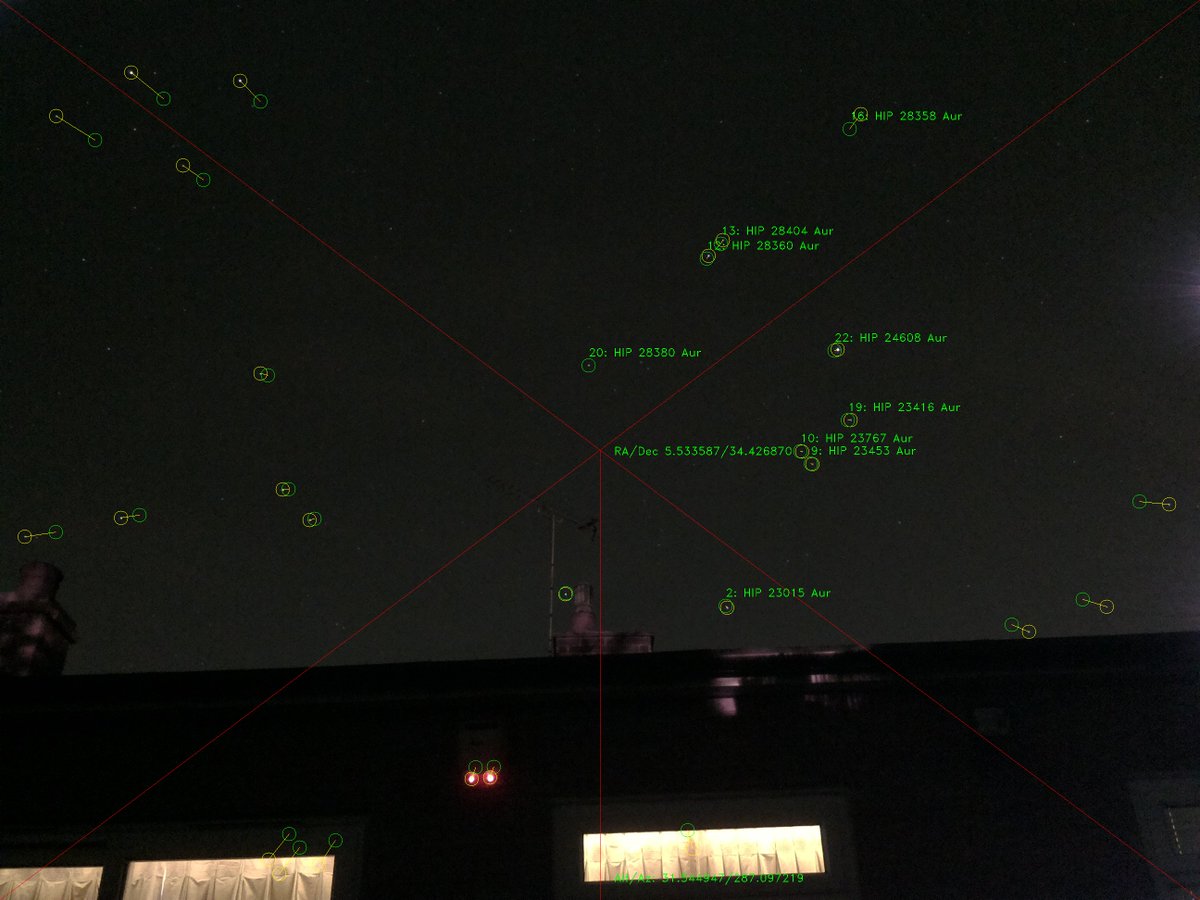
Decided to quickly run a test image taken a few days ago to see how the code stood up. Analysis took 5 minutes which is too long but changes are due soon. Seemed to work extremely well other than that. Now Includes pre-warped origin points as well.

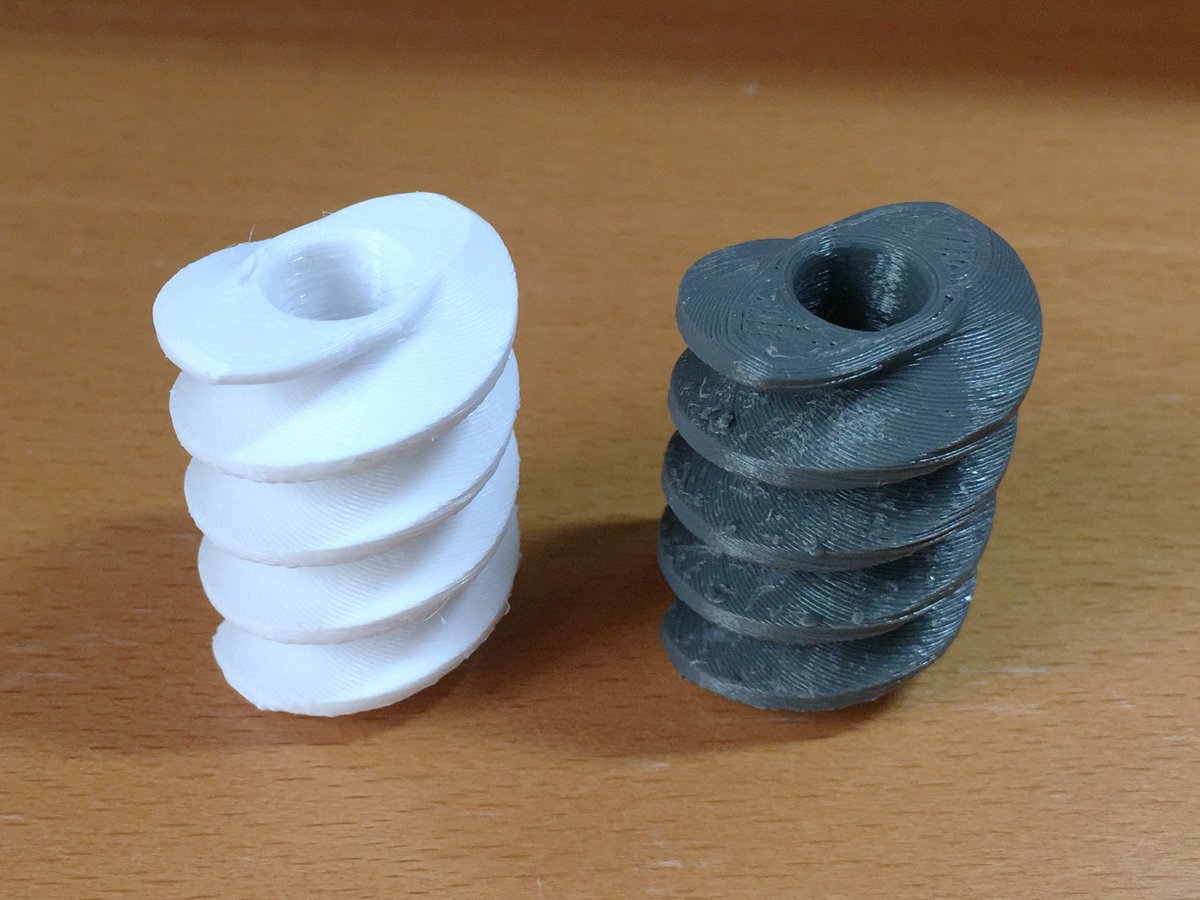
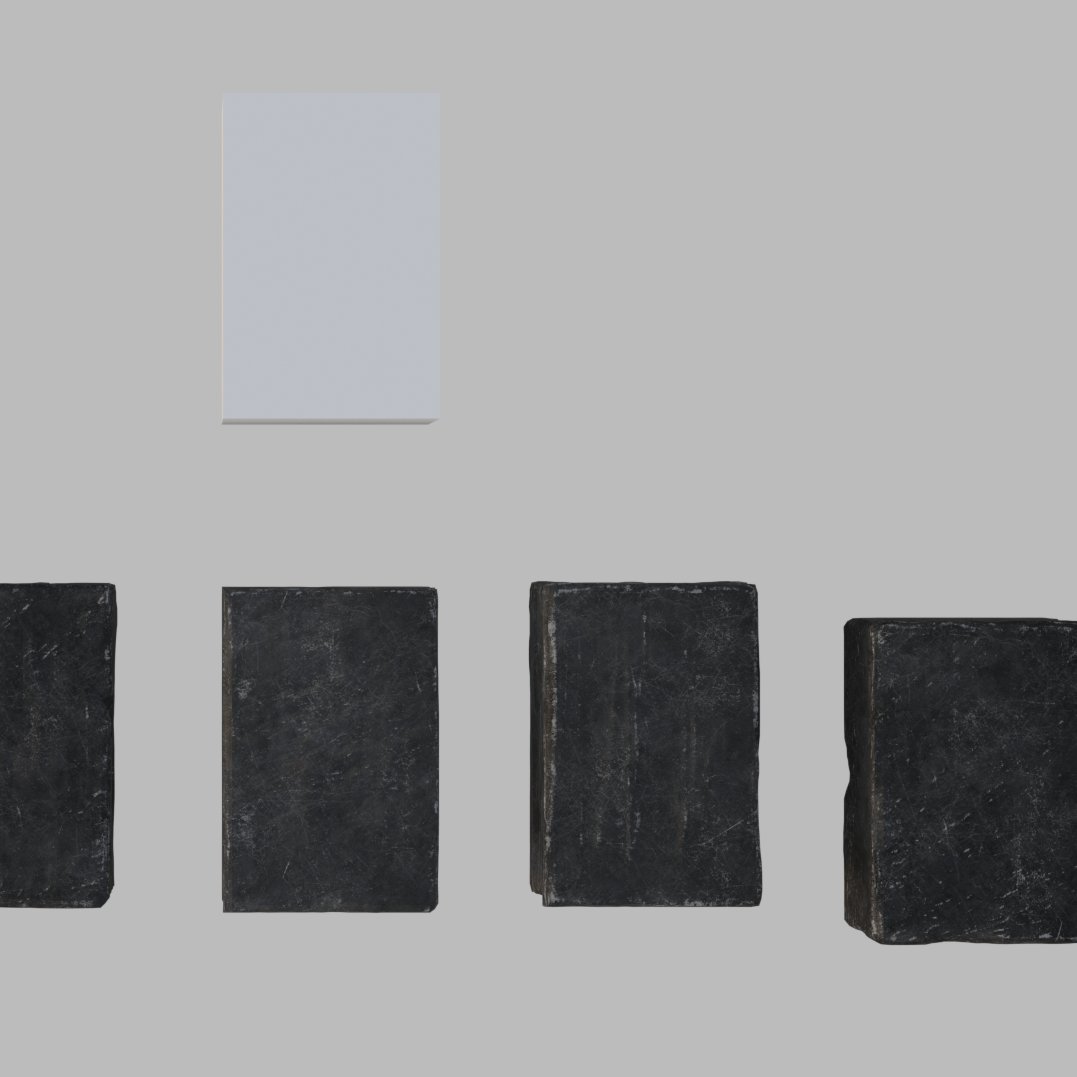
Worm and wheel (PETG) from the 3D print shop. Wheel printed better, but again, stringy and blobby in places. The wheel might work, but the worm is definitely not good enough for the project.

My last attempt (Colorfabb XT) next to 3D print shop (Standard PETG) materials. Quite surprising that my last print was better quality. The PETG seems to be stringy and blobby. This was definitely worth the effort to see quality results.
In the spirit of maintaining progress despite the somewhat major setback, I've ordered some prints from a 3D print shop. Due mid-week. At the very least, the printer step motors can be repurposed for telescope mount motor drivers.
Seems the damage sustained by the printer when first used and the recent attempts to calibrate z-axis properly with the built in proximity sensor have resulted in continual bad prints. I'll be looking to get a new 3D printer.
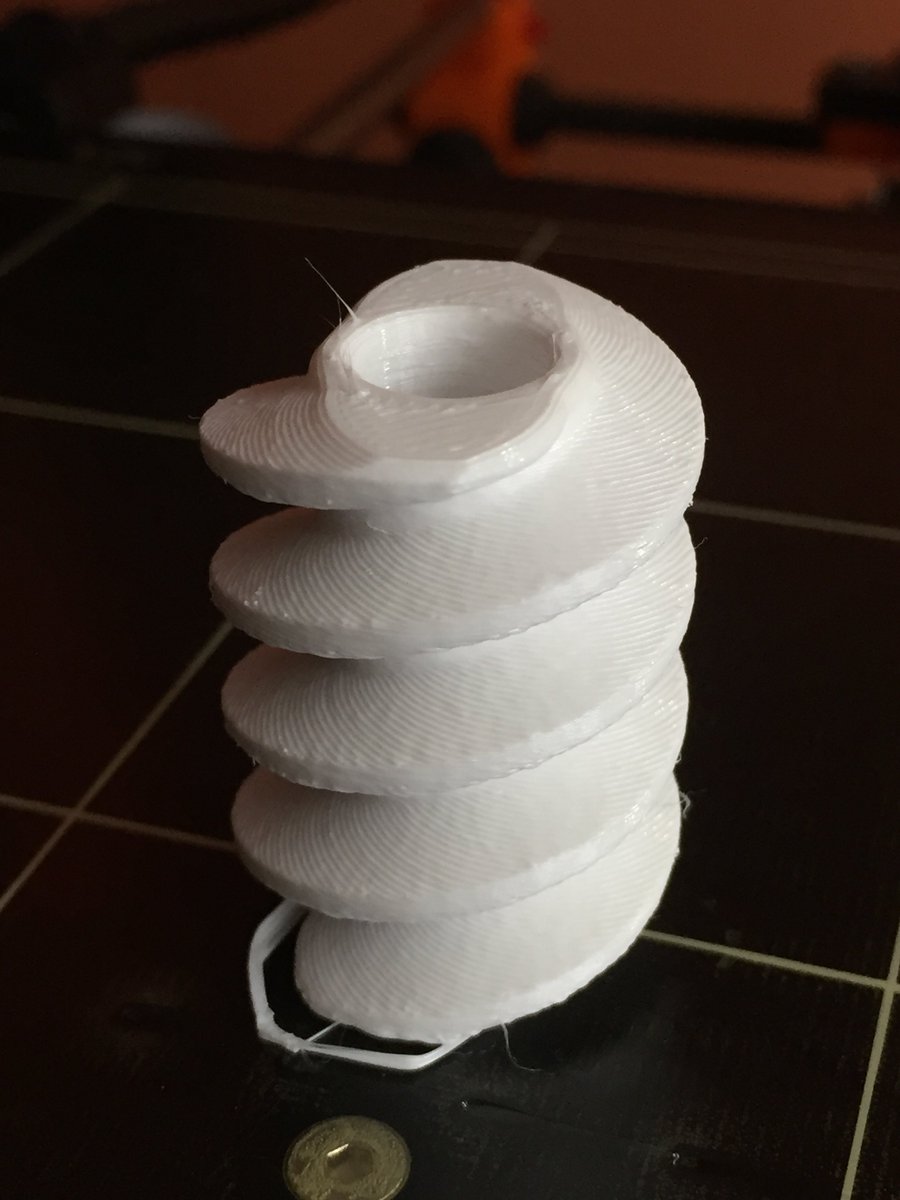
After 12 months and some technical difficulties, finally managed to get around to some test prints. This, a worm of a worm/wheel set.
Put together a quick Raspberry Pi test rig for quick and easy deployment when skies are clear.

Optimisation being considered: Grab as many blob keypoints as possible, but weight them based on size (which is basically intensity), using the brightest first, faintest last. Possibly also weighting more near the centre and less further out.
Threw a test Pi out the door to see how it might fair. Took 2 images, one failed to solve, the other surprisingly did after battling the Moon and ground objects (although took about 17mins which is too long). Some optimisations definitely needed.
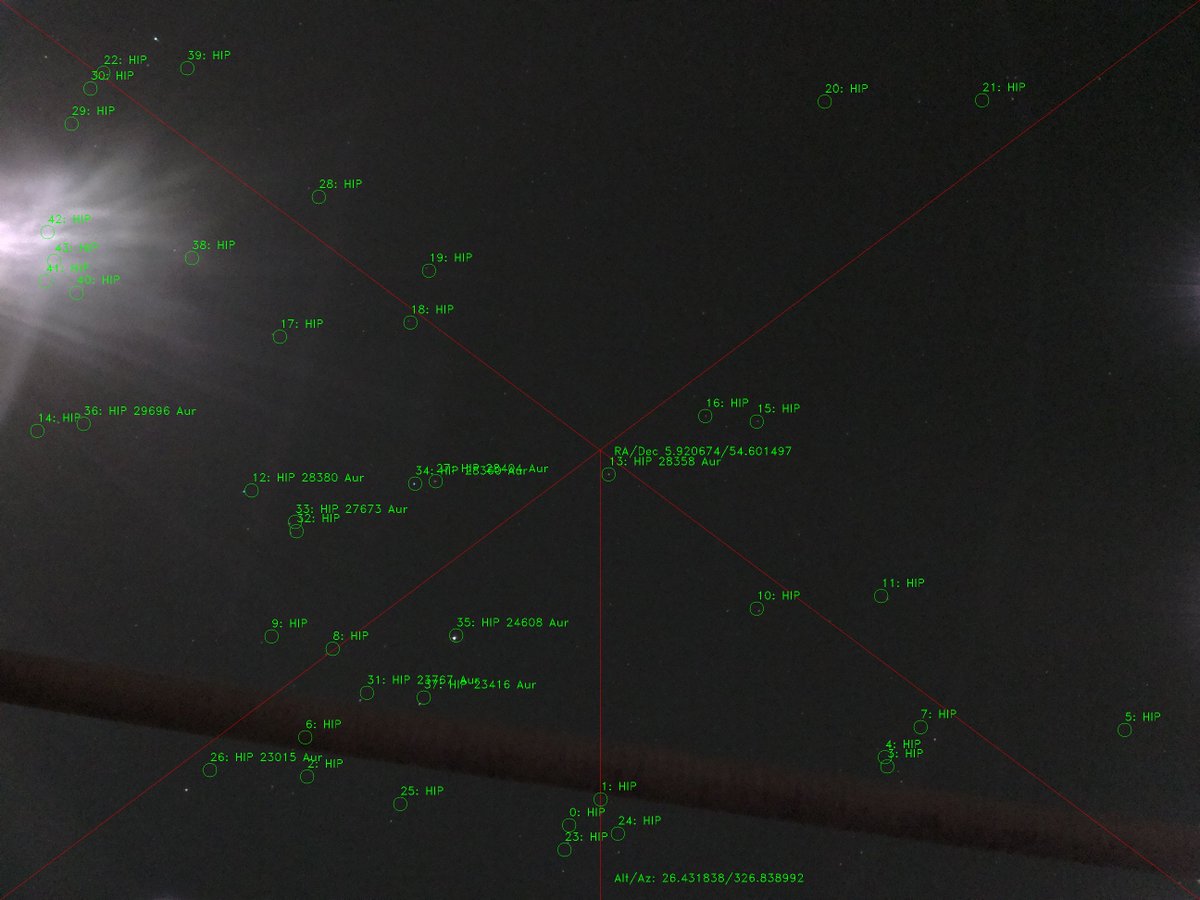
Calculation of image centre coordinates, effectively Zenith. Almost perfect. The discrepancy? That's down to the #RaspberryPi camera back in 2016 not being 100% level while pointing up, an issue that mount hardware would have catered for. Very pleased with this.

Screenshot showing sky image with resolved star (HIP 65378) and test output to calculate decimal Alt/Az (to match result in Stellarium). This is great because Azimuth is also bearing and can be used to help calibrate future hardware axis.

Some late night success with a tough conversion from C# to C++ for the RA/Dec to Alt/Az values. Hoping the prep work on the new ArcView concept will have been worth it when using it for telescope navigation and motor drive control.


United States Trends
- 1. #BaddiesUSA 62.8K posts
- 2. TOP CALL 3,514 posts
- 3. Rams 29.8K posts
- 4. #LAShortnSweet 22.3K posts
- 5. #centralwOrldXmasXFreenBecky 361K posts
- 6. SAROCHA REBECCA DISNEY AT CTW 381K posts
- 7. Scotty 10.1K posts
- 8. AI Alert 1,076 posts
- 9. Market Focus 2,365 posts
- 10. Chip Kelly 8,881 posts
- 11. #LingOrmDiorAmbassador 194K posts
- 12. sabrina 65K posts
- 13. #ITWelcomeToDerry 16.3K posts
- 14. Vin Diesel 1,417 posts
- 15. Raiders 67.6K posts
- 16. Ahna 7,516 posts
- 17. Check Analyze N/A
- 18. Token Signal 1,509 posts
- 19. Stacey 23.7K posts
- 20. billie 20.3K posts
You might like
-
 johannes.wilde
@johannes_wilde -
 Space Station Guys
@spacestationguy -
 はやなり
はやなり
@hayanariiii -
 Yuki T.
@User0224 -
 Chako Ando 米国ビジネスモデル・AI 情報
@CandoAdvisors -
 Adojutelegan Olori omo Akile Oodua
@Adojutelegan4 -
 【非公式】JAXA調達情報bot
@nyusatsuhaishin -
 Susanne
@Kassiopeia_w_1 -
 Lune@ゲーム開発
@LuneLilliand -
 Alexis
@Alexis_GTS818 -
 Marios Kyriakou
@_mariosmsk_ -
 ヒコ / Hiko
@HIKOkyoujurou -
 Joni Mercado
@jonimercado3d -
 David K 🤔
@Tele1953 -
 Hiromi Kashino
@khiromi
Something went wrong.
Something went wrong.