#elementvisibilityreact search results

Tracking Element Visibility with React and the Intersection Observer API #javascript #intersectionobserverapi #elementvisibilityreact #intersectionobserver #react #100daysofcode #webdev #webdevelopment hackernoon.com/tracking-eleme…
Tracking Element Visibility with React and the Intersection Observer API #javascript #intersectionobserverapi #elementvisibilityreact #intersectionobserver #react #100daysofcode #webdev #webdevelopment hackernoon.com/tracking-eleme…

Looks like floating element's blur is working on midrange 🧐 Still very alpha


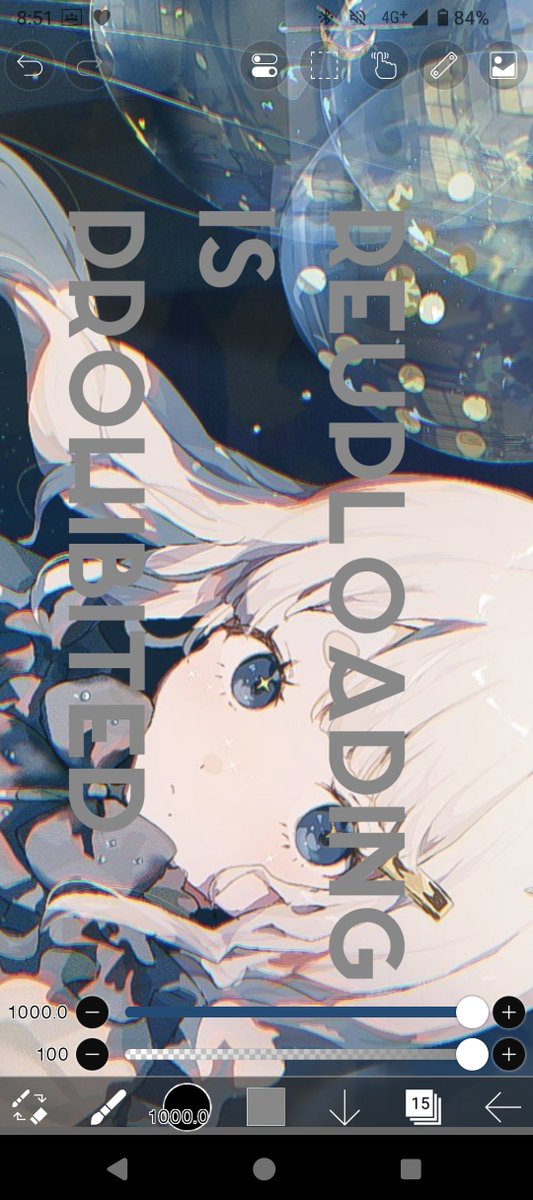
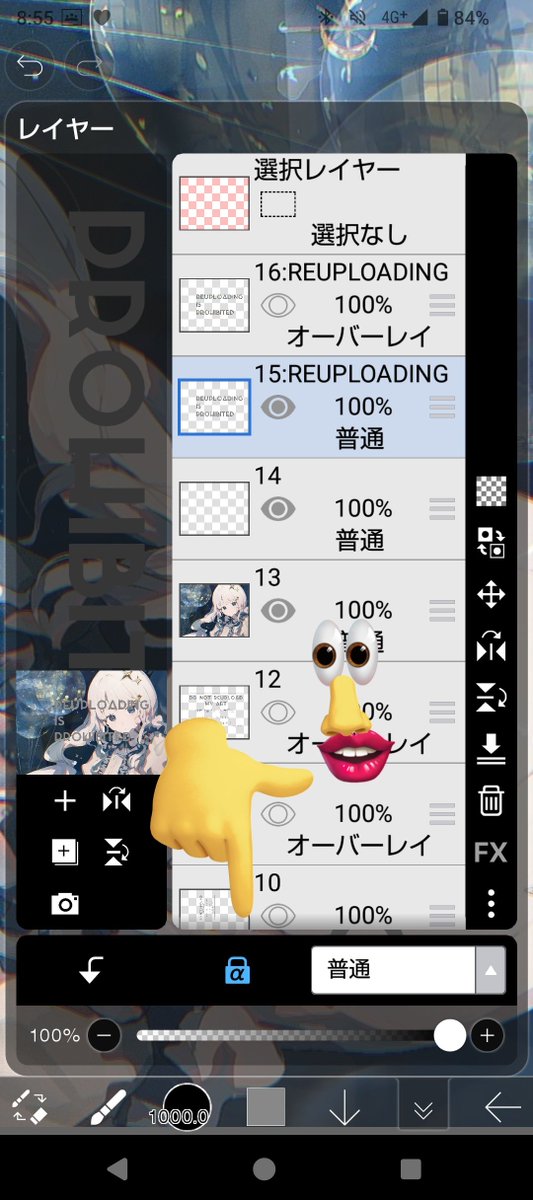
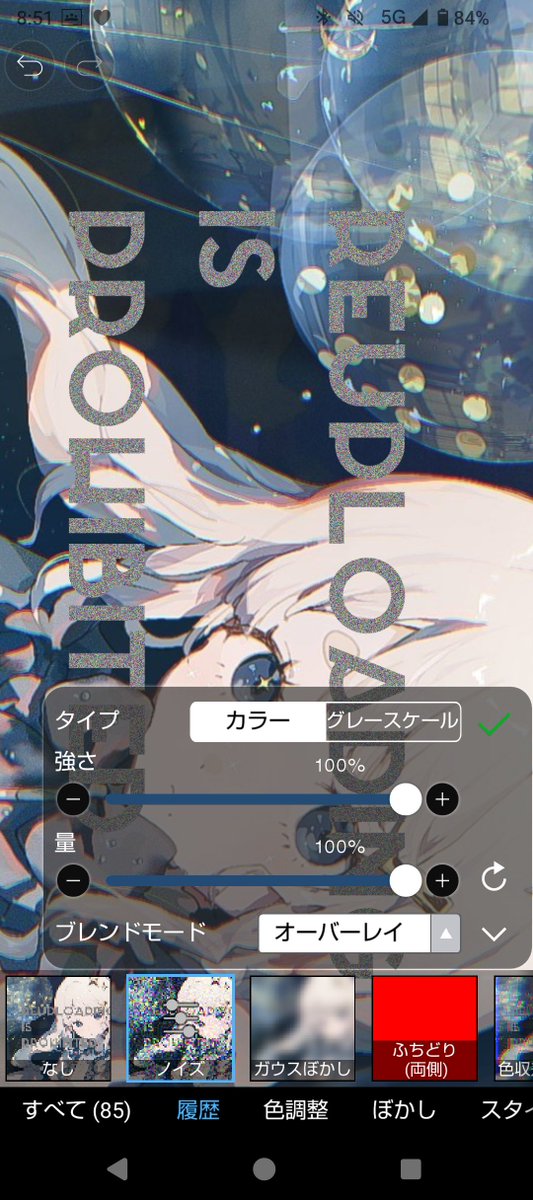
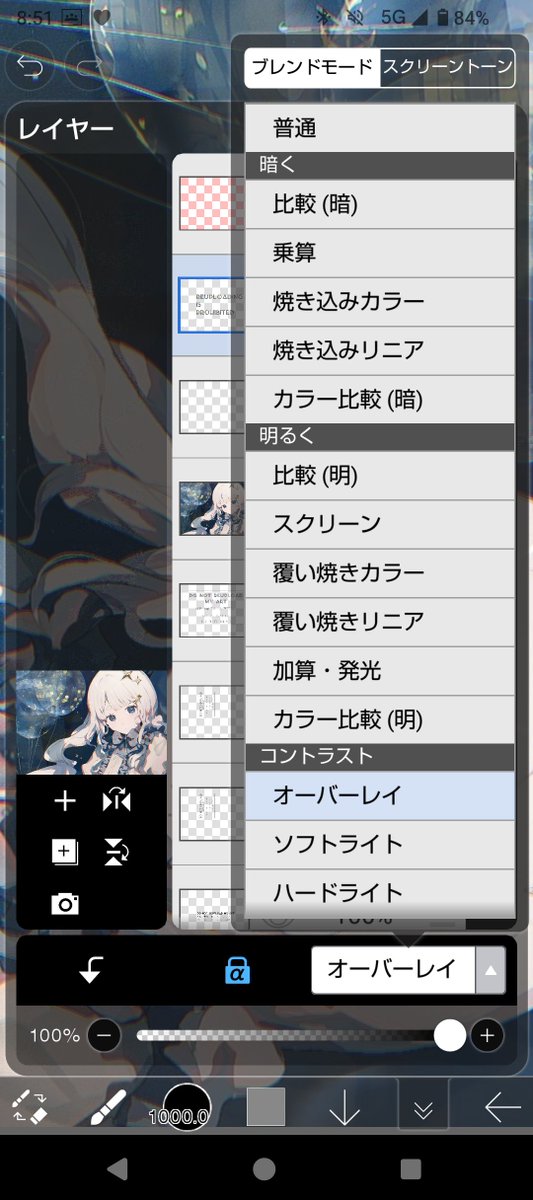
灰色の文字を用意し、レイヤーに不透明度ロックをかける。(2枚目) フィルターの分類 アート中のノイズを文字にかける(3枚目) ノイズを入れた文字レイヤーのブレンドモードをオーバーレイに(4枚目) 色味によってはノイズが弱いのでその場合はオーバーレイにした文字レイヤーを複製して重ねがけ

1. Add backdrop-filter - backdrop-filter: blur(14px) 2. Set background with opacity - background-color: rgba(12, 30, 45, 0.7) Optional: Add a semi-transparent border to highlight the edge. Try CSS generators: 🔗 css.glass 🔗 ui.glass


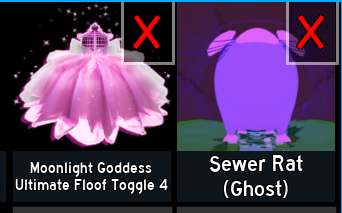
become invisible and sparkly using both of this item with all of it using transparent png
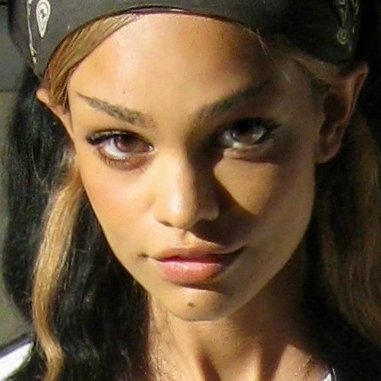
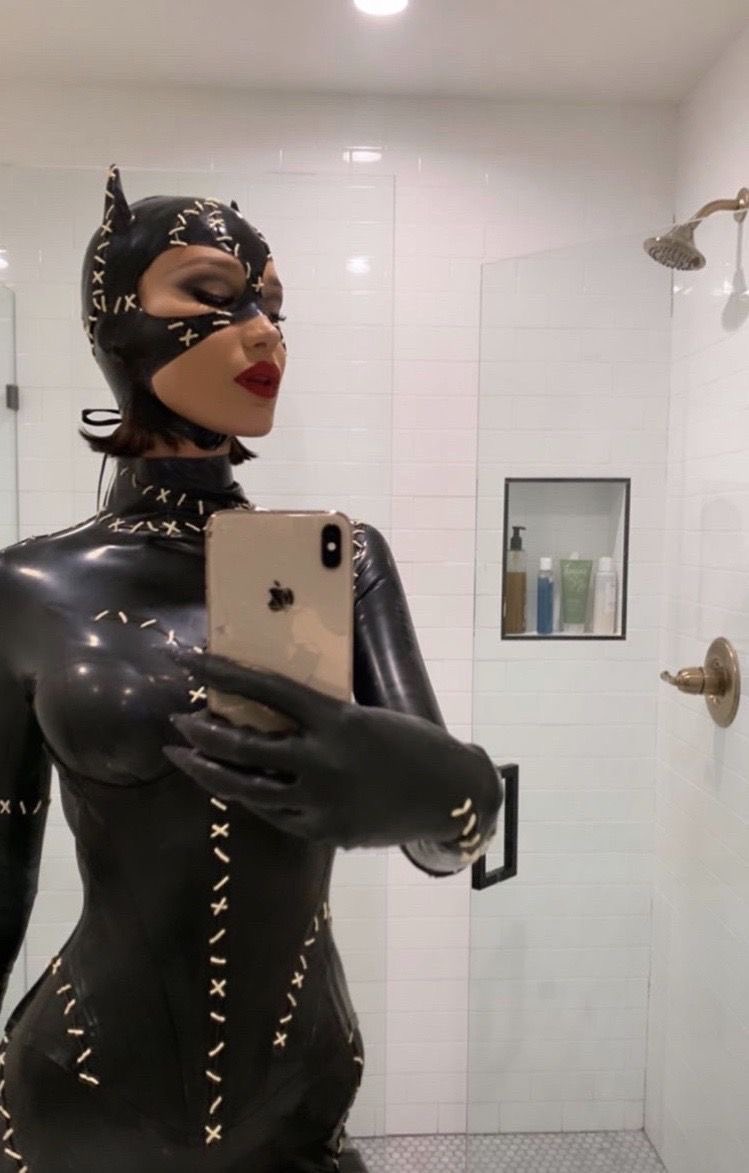


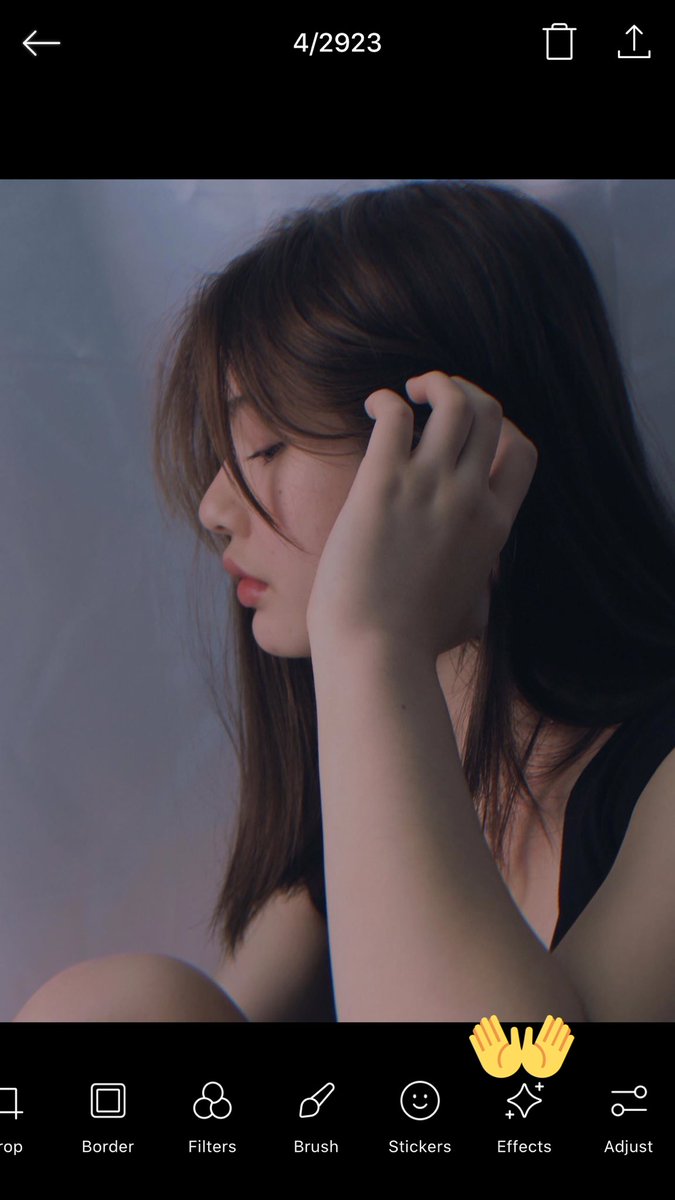
Tried to use the filter i have to make it look like the ToP


Is anyone wants to color this you can here is the lineart as a transparent png


CSS "content-visibility:auto" is amazing: skip rendering & painting offscreen content until needed. I got a ~1s faster render on a long HTML document on desktop, ~3s on mobile. web.dev/content-visibi…


1. เข้าไปตรง effect 2. ใช้ filter02 70-80% 3. ใช้ filter01 10% 4. ใช้ filter15 50% 5. ปรับเเต่งตามชอบเลยค่า Ps. หลังใช้เสร็จ filter นึงเเล้วกดติ้กถูกให้มันเซฟก่อนเเล้วค่อยลง filter ต่อไปนะคะ😸💗


💡 CSS Tip With a transparent image, use the filter property instead of box-shadow:

CSS filter property visual guide for frontend developers 🎨 A Thread 🧵👇


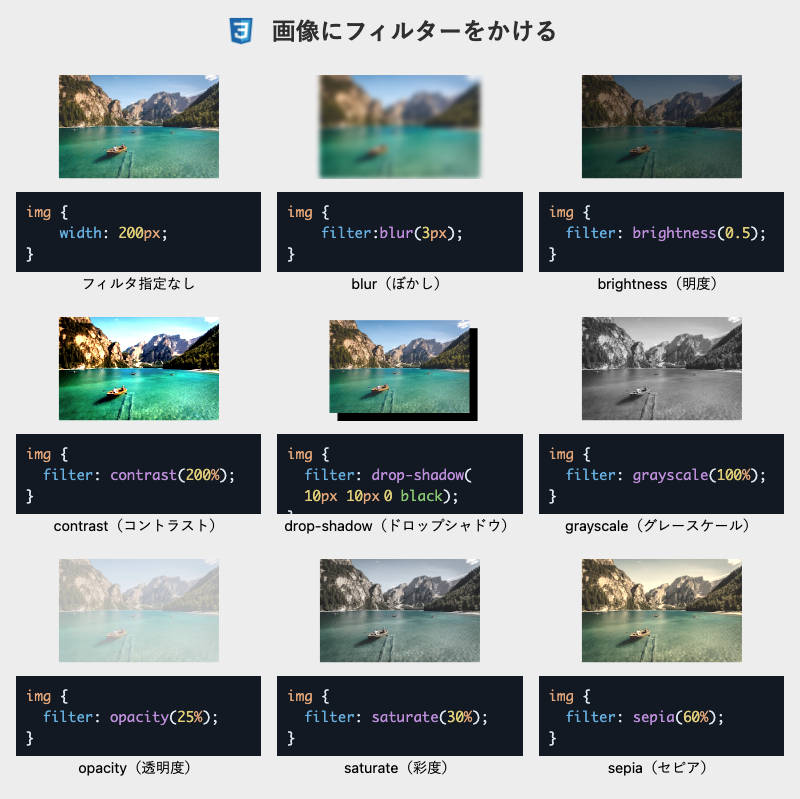
「filter」プロパティを使用し画像にフィルターを追加してみました。 他にもhue-rotate(色相)やinvert(階調)の調整も可能です。 #Web制作 #プログラミング初心者 #駆け出しエンジニアと繋がりたい #webデザイン #css

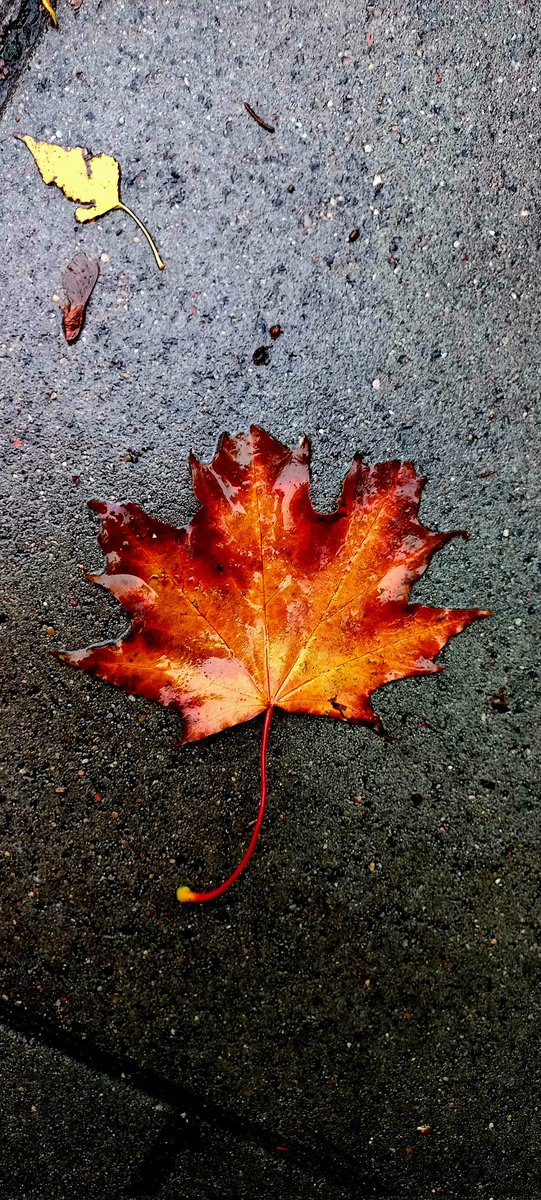
CSS tip: When you work with transparent images you can use `drop-shadow()` filter function to create a shadow on the image's content, instead of `box-shadow` property which creates a rectangular shadow behind an element's entire box: filter: drop-shadow(2px 4px 8px #585858);

Something went wrong.
Something went wrong.
United States Trends
- 1. Blue Jays 71.1K posts
- 2. #WorldSeries 97.2K posts
- 3. Luka 59.7K posts
- 4. Snell 13.6K posts
- 5. #Dodgers 14.1K posts
- 6. #SmackDown 31.2K posts
- 7. Mavs 11.1K posts
- 8. Addison Barger 14.1K posts
- 9. Kyshawn George 3,306 posts
- 10. #WANTITALL 40.3K posts
- 11. #BostonBlue 5,342 posts
- 12. Virginia Tech 4,586 posts
- 13. Sheehan 2,120 posts
- 14. Wizards 9,236 posts
- 15. Grand Slam 25.2K posts
- 16. Paolo 13K posts
- 17. Game 1 620K posts
- 18. Paul Reed N/A
- 19. Zion 21.8K posts
- 20. Halo 150K posts