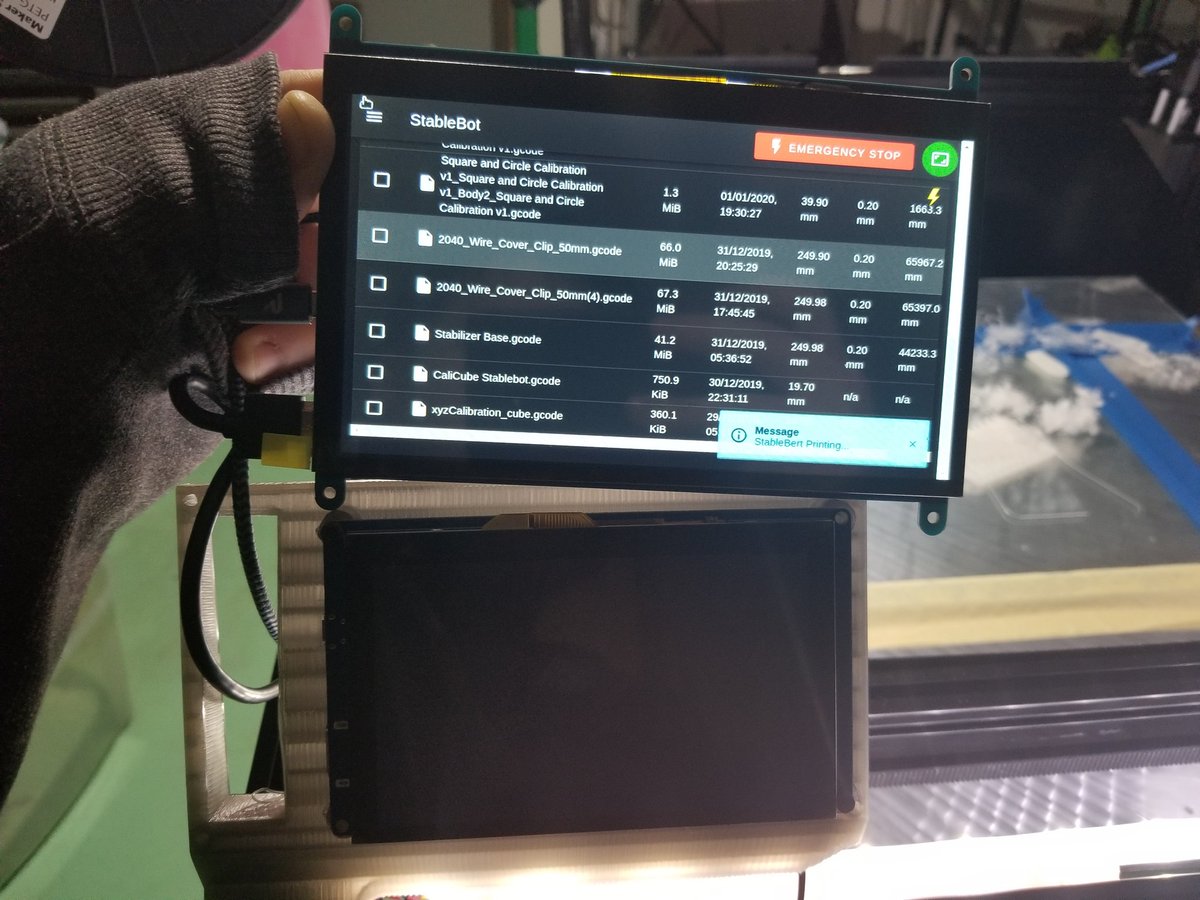
#stablebot search results


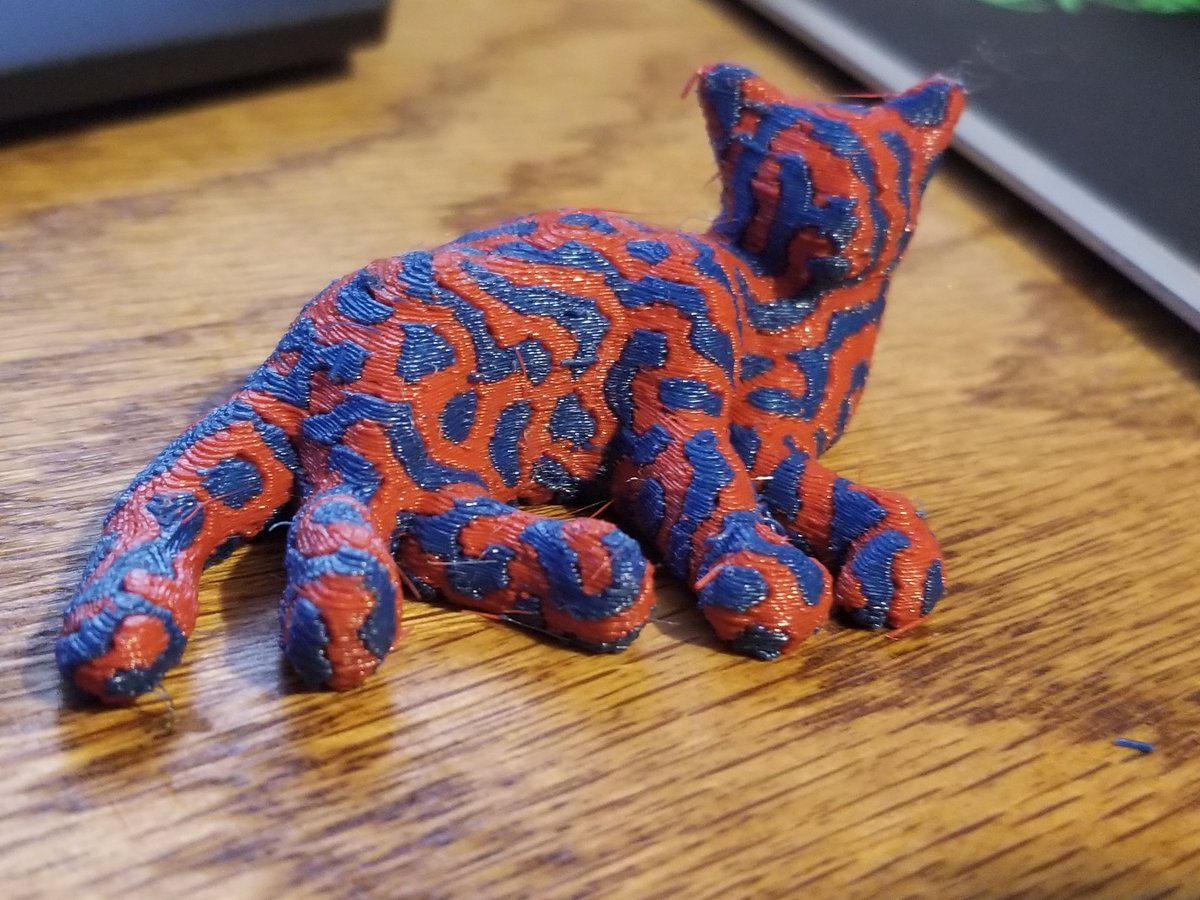
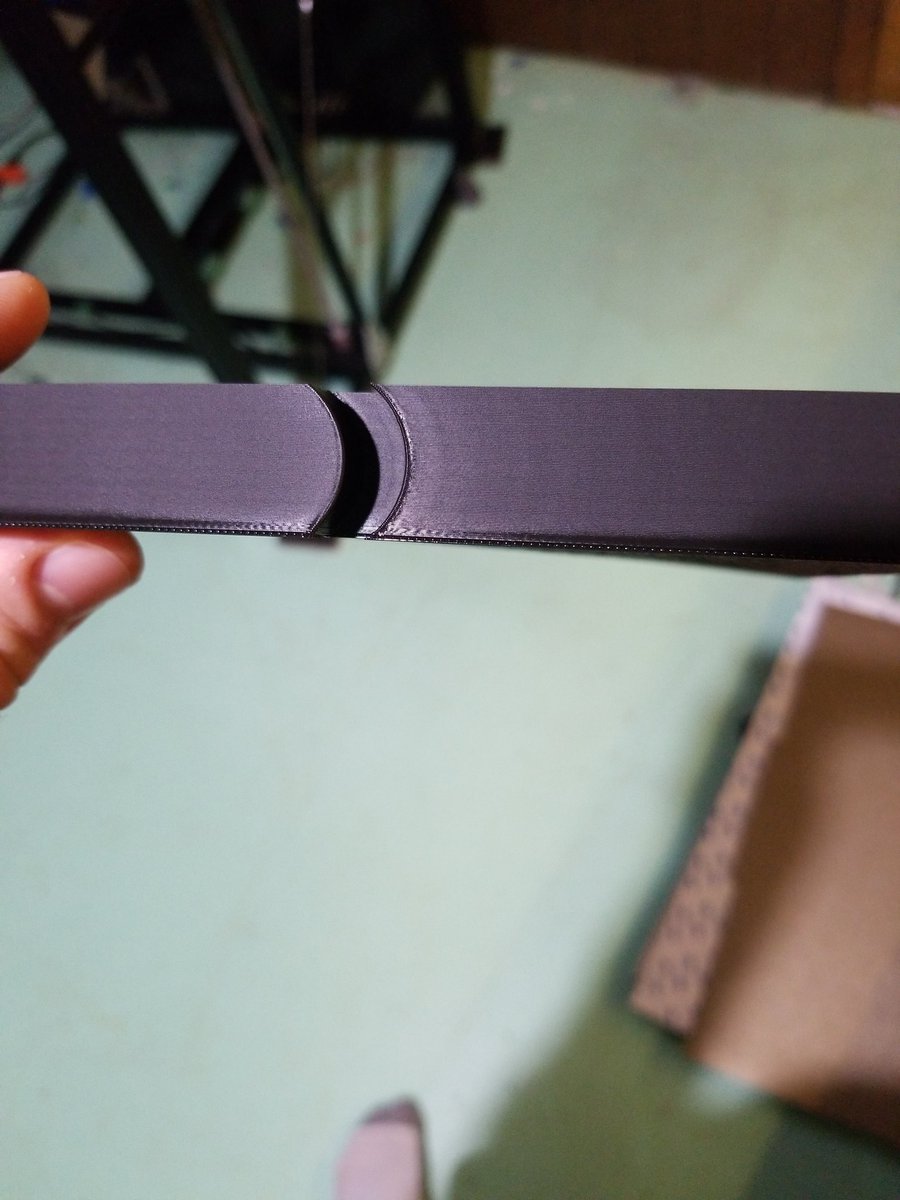
Retraction needs some work but otherwise looking much better with @Duet3D 3.3alpha #stablebot #toolchanger #3dprinting - thanks for squashing some bugs that I thought was hardware!
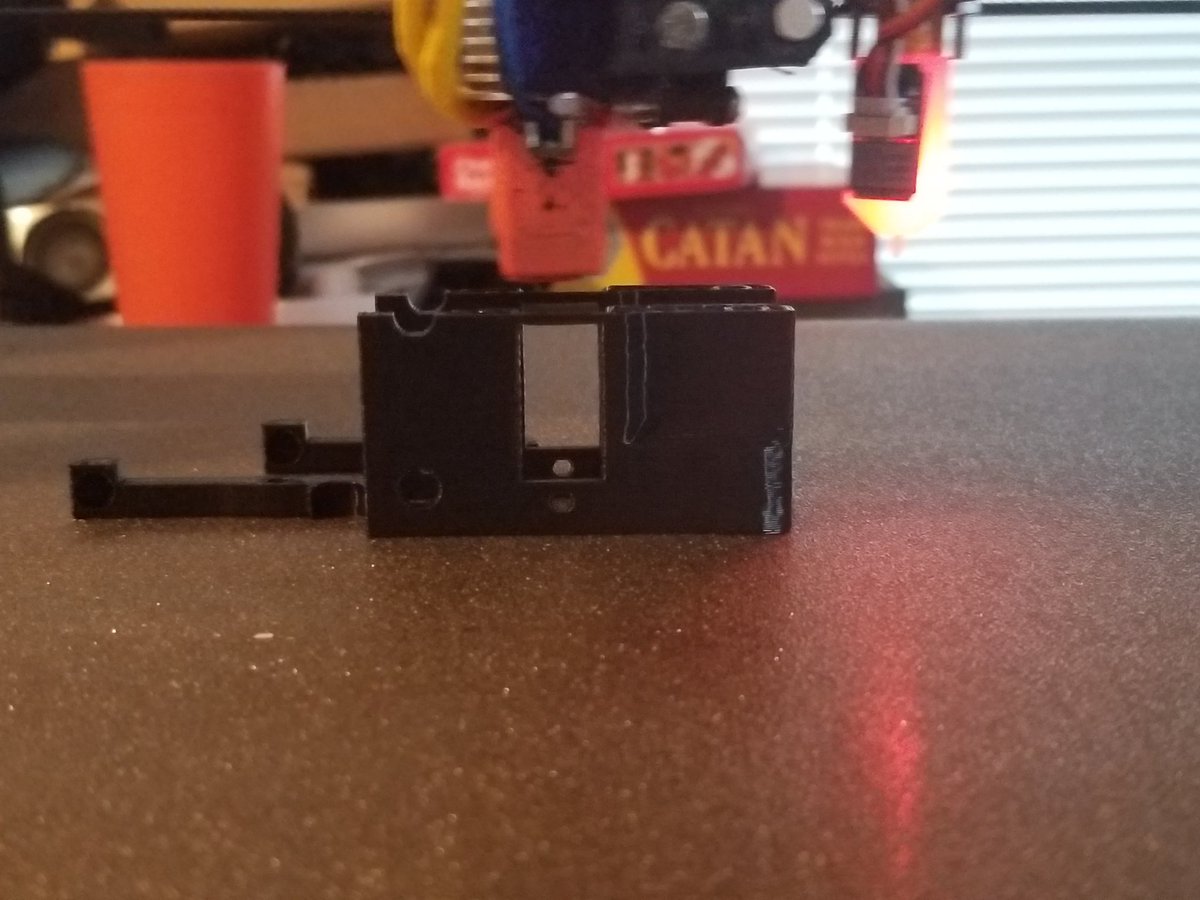
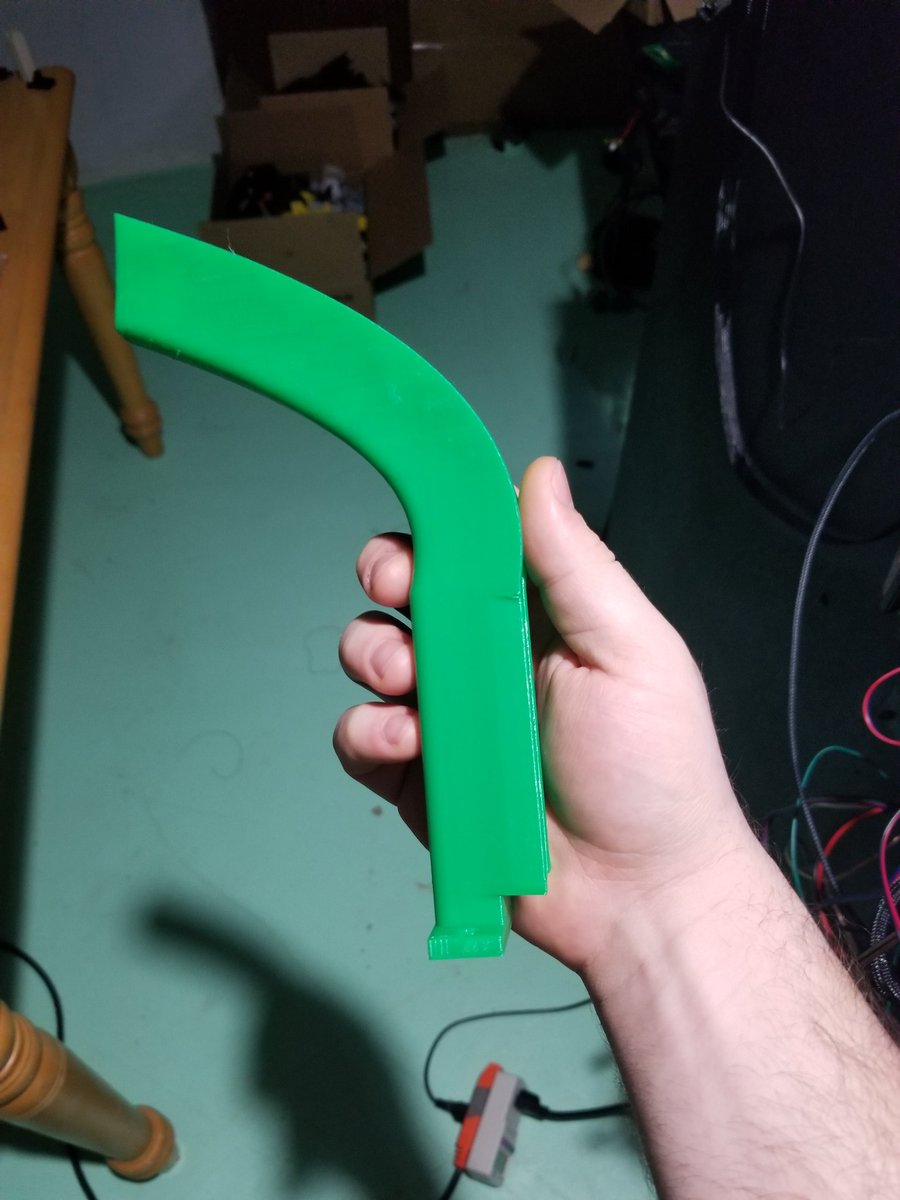
New #3Dprinting head for my #stablebot slinger - uses a CAN toolboard so it only requires 4 wires to connect and still has all the other fun bits! It's missing a part cooling fan, but otherwise is fitting well and will be able to be swapped with 3 screws!


Must... Have... More... Cooling! youtube.com/watch?v=ZHjYBh… #3dprinting #stablebot

youtube.com/watch?v=GZl3Ye… Happy to say that the very first #Stablebot slinger is up and running. Let the tuning commence!
First ever #stablebot slinger #3dprinter for a customer headed out the door right before christmas! Hopefully a good start to many more! :)


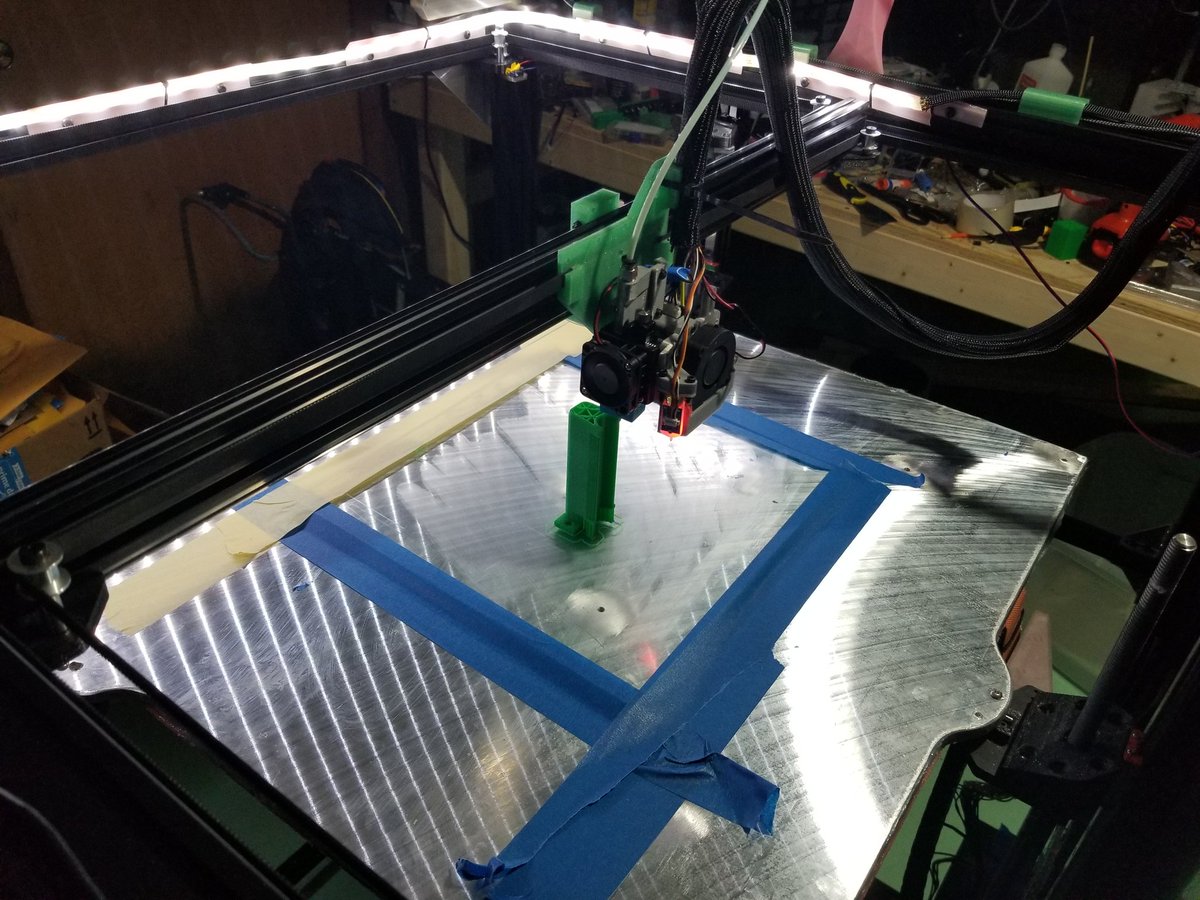
This is obviously a quick and dirty way to get more cooling to the noz but damn it's effective. .6 nozzle with .3mm layers at a nice clip of 32.5mm^3/s printing a voron cal cube. Will have to try CPAP tube for vol and mass reduction in the future. #3dprinting #stablebot
It's always nice watching some 200mm/s+ tool speed extrusion in the morning :) #stablebot #3Dprinting
I personally hate calibrating tool offsets manually on my Toolchanging #Stablebot. Thankfully, the community has made an amazing program called TAMV that uses machine vision to align them for you! youtu.be/ZjgjIAw_s7E #3Dprinting #machinevision
youtube.com
YouTube
TAMV - Tool Aligning Machine Vision - Easy Tool Offset Alignment,...
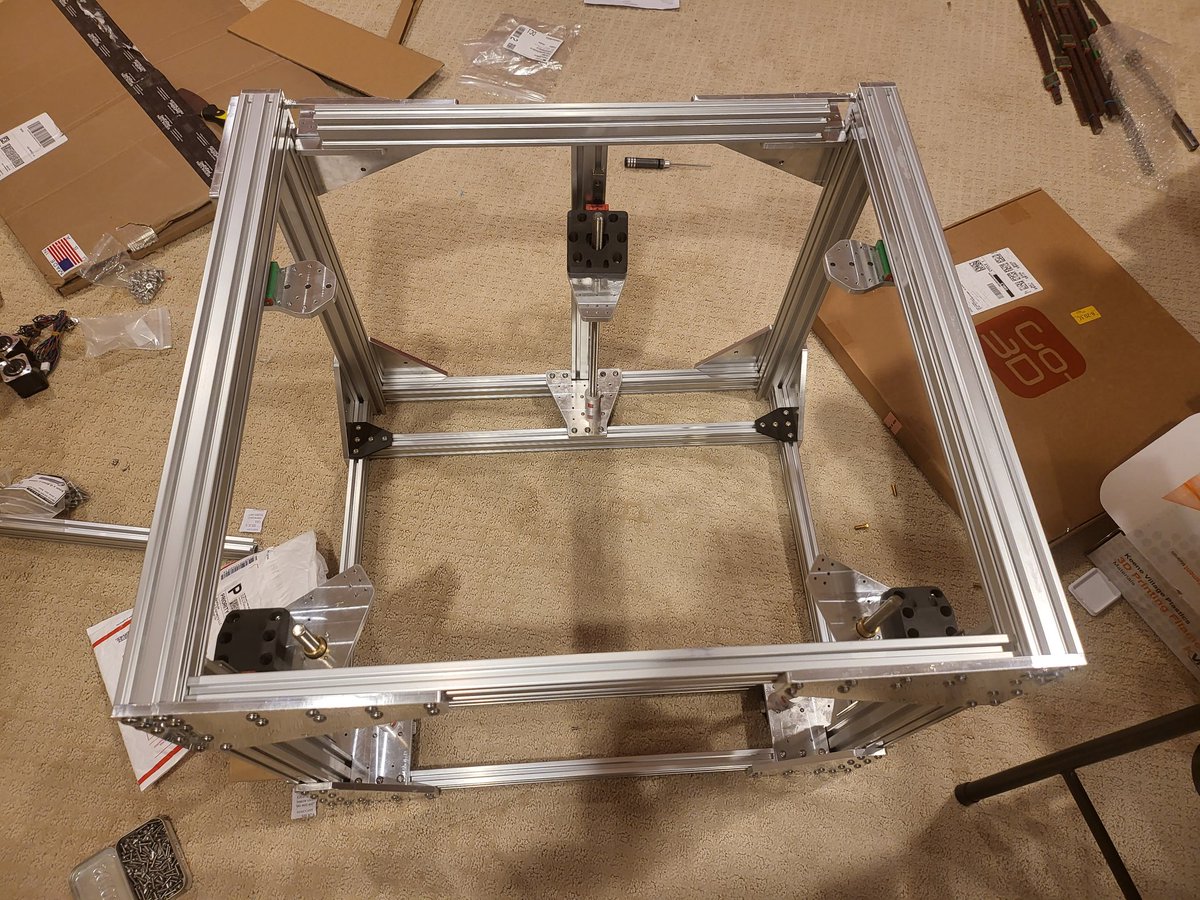
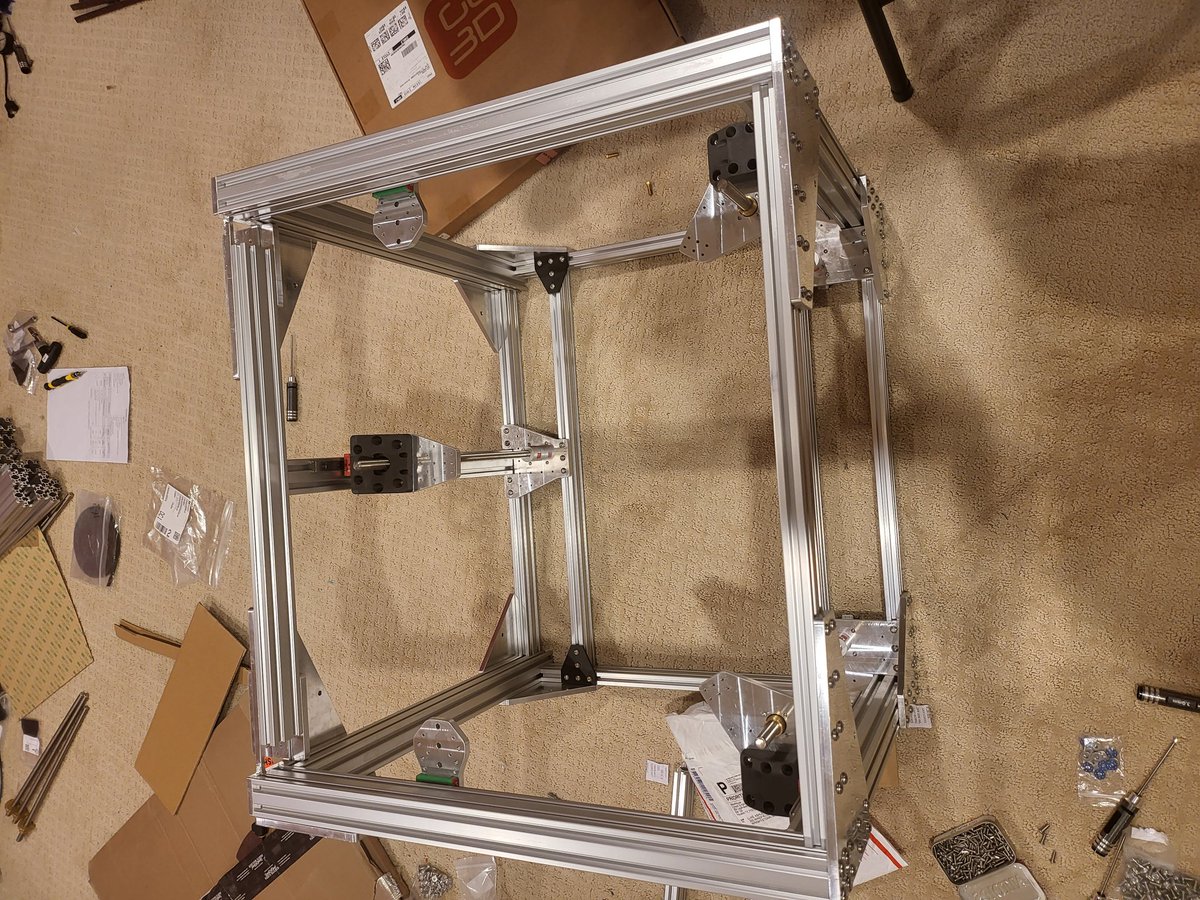
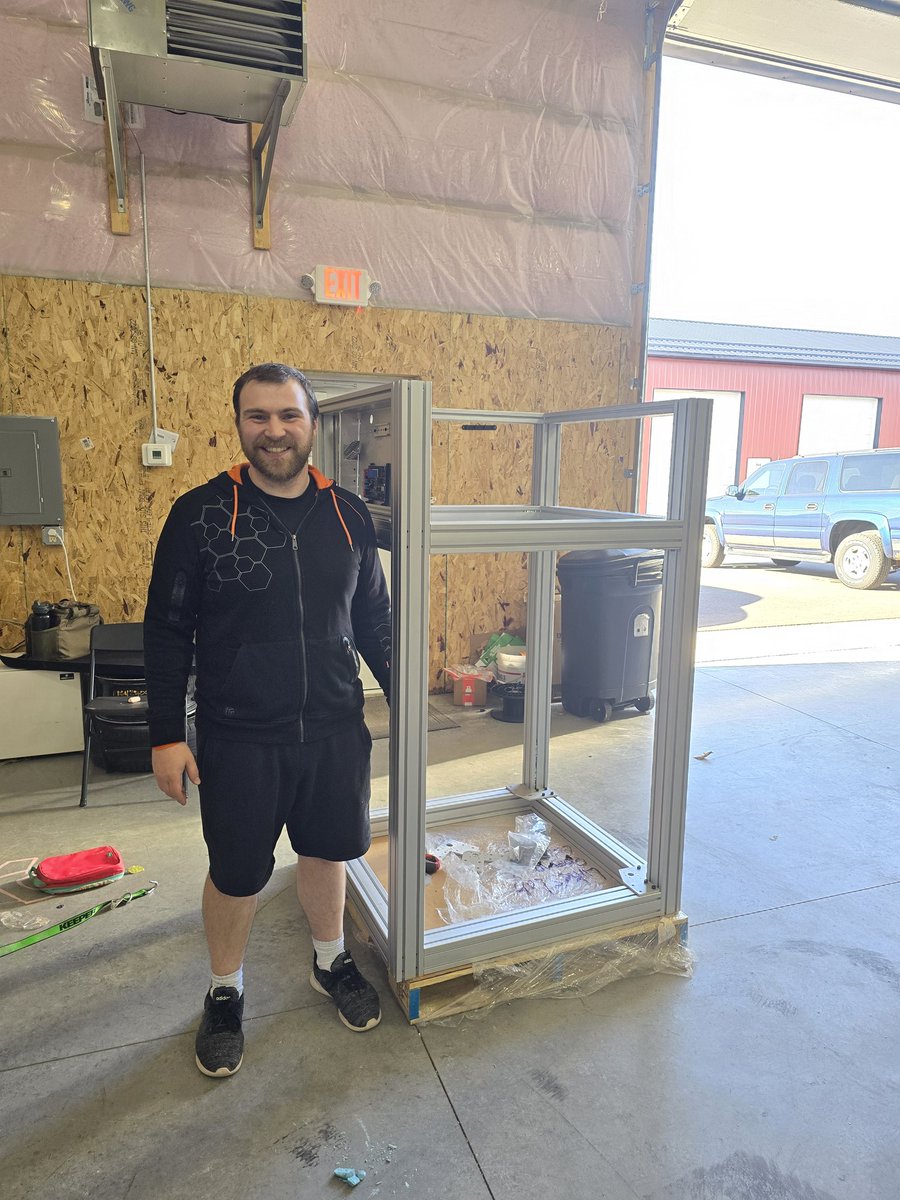
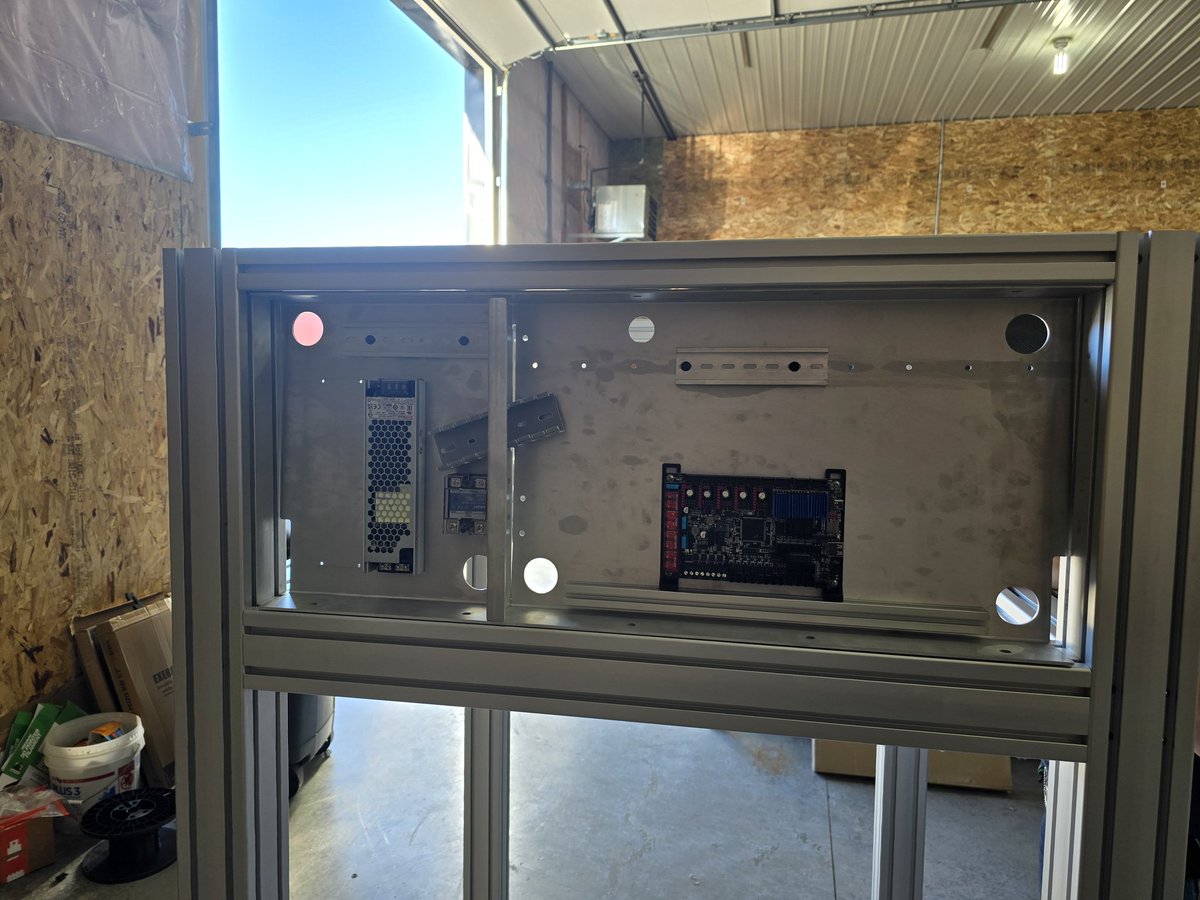
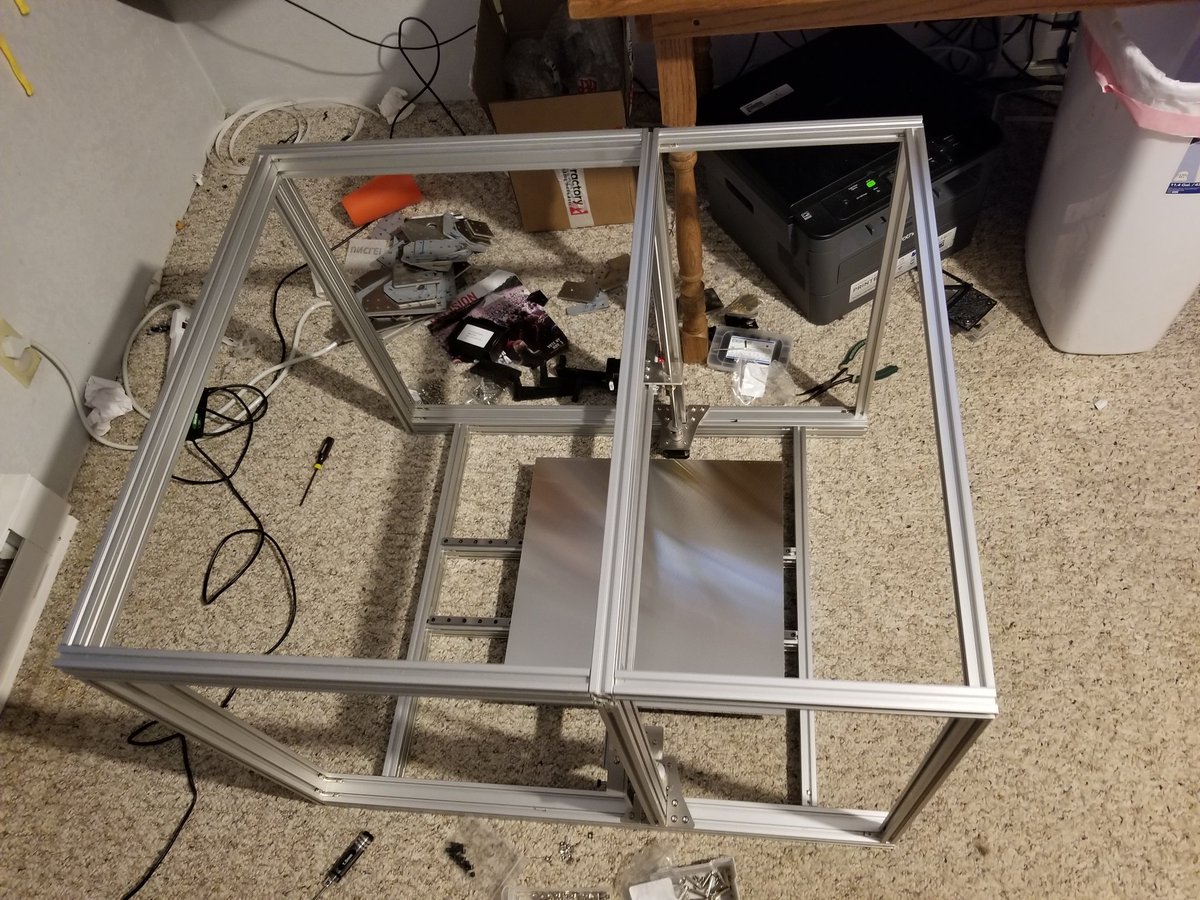
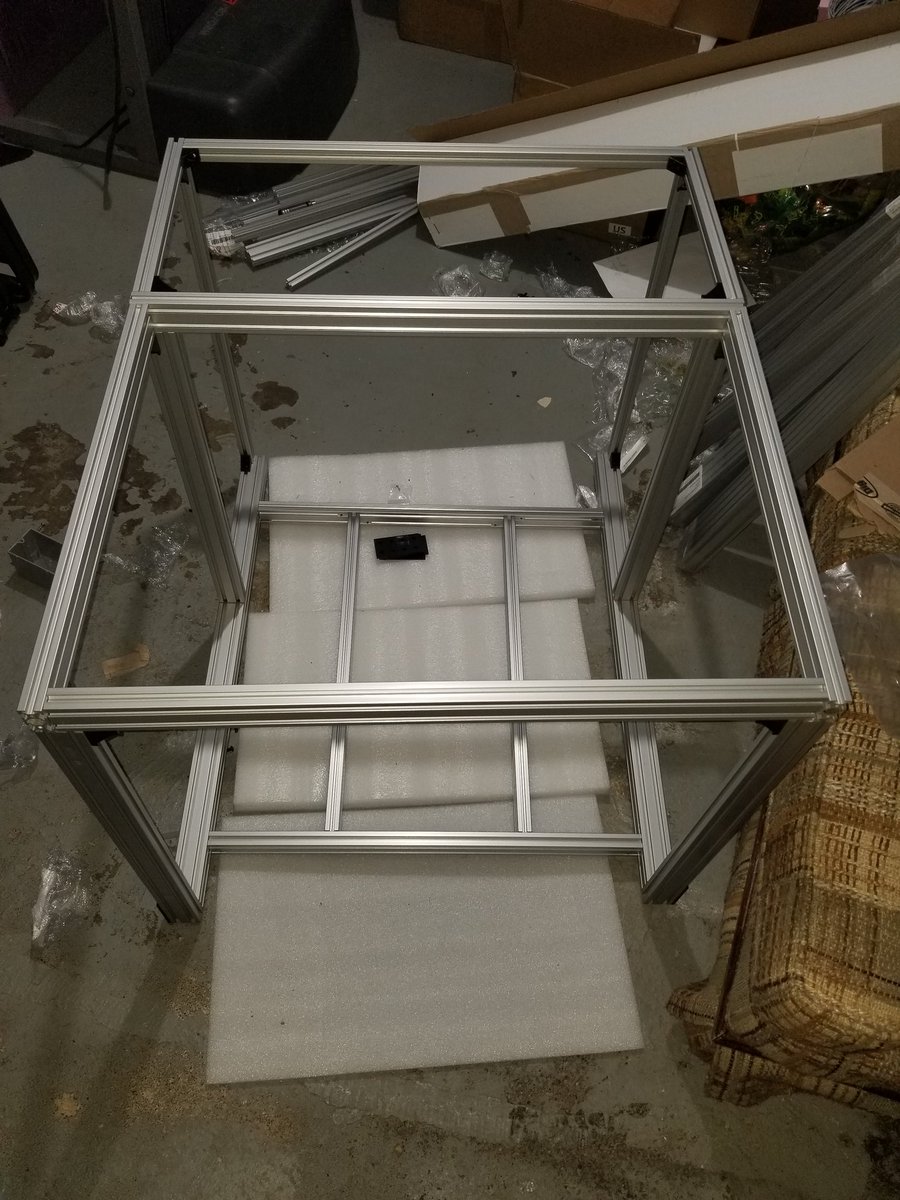
The frame is up! Next: rails and z axis! Early preview of the electrical cabinet as well. #stablebot #3dprinting
Clip of the Upcoming #Stablebot Slinger printing - Standard i3 Style 3D printer - Capable of extremely fast tool speeds w/out sacrificing quality. Video shows an ASA print using an @E3DOnline v6 Volcano @ 150mm/s and 1.5k mm/s^2 acceleration. youtube.com/watch?v=XuFpFx… #3Dprinting
#Klipper is magic. Tried running a resonance tune for input shaping, but barely got a single ring outta it. This is the Y axis on a Bedslinger, for example. Top of the ring is 6k accel. Bonkers. #3dprinting #stablebot

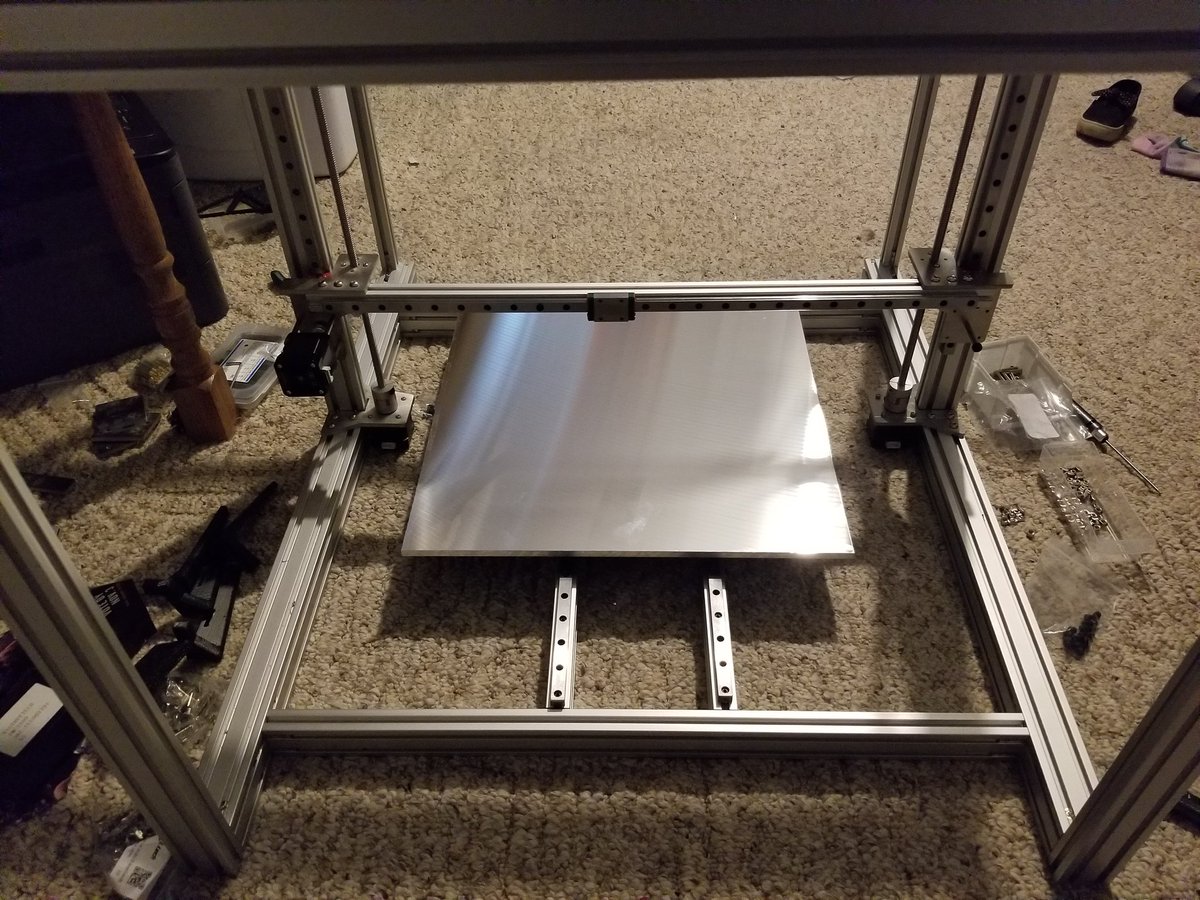
#Stablebot slinger in process. Going well sofar! Next step is to drill some holes in the mic6 bed for the kinematic mounts! #3Dprinting

Retraction needs some work but otherwise looking much better with @Duet3D 3.3alpha #stablebot #toolchanger #3dprinting - thanks for squashing some bugs that I thought was hardware!
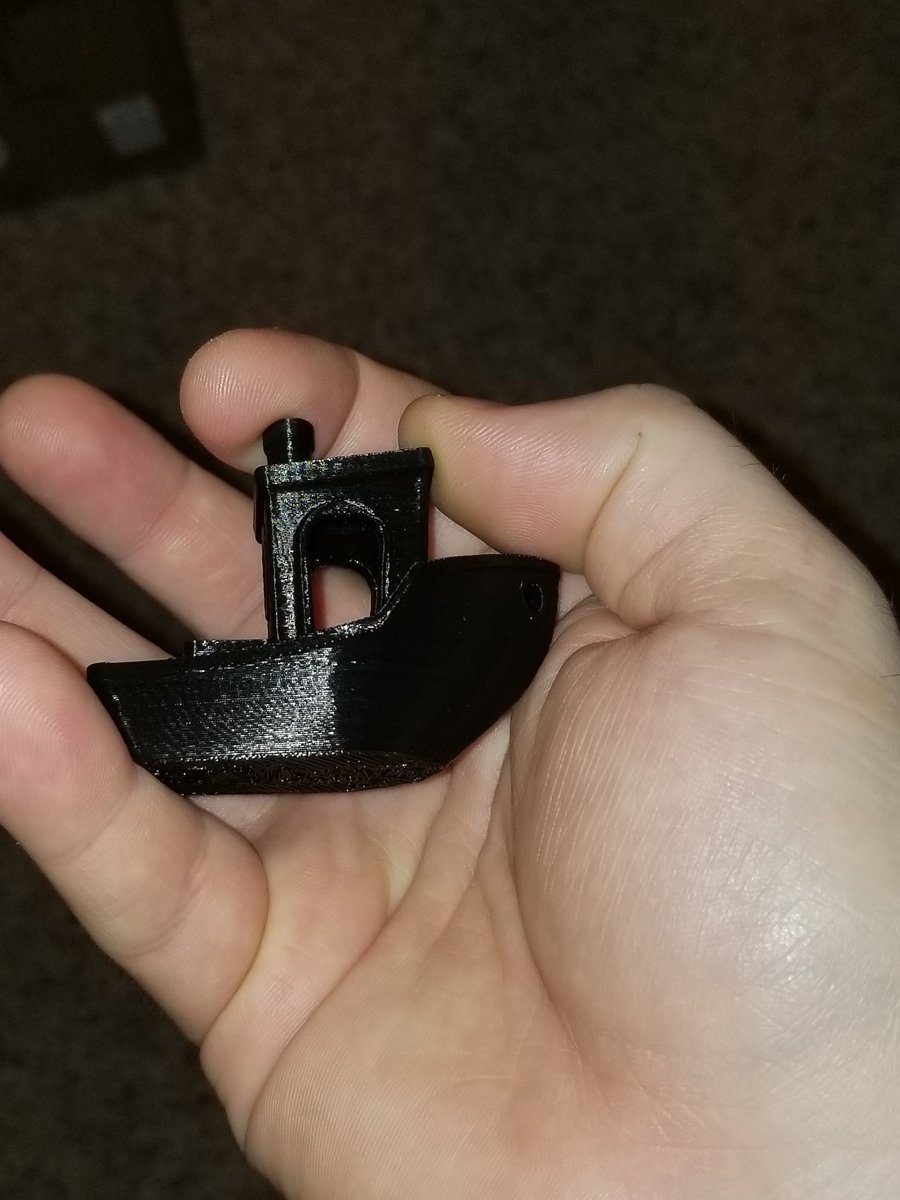
Benchy #2 on the #stablebot and it's looking pretty good if I do say so myself! Now to print out some wipers for the tool docks to get rid of those gnarly strings! #3Dprinting


If its dumb but it works, it ain't dumb! Kept having issues with tape ahesion to the alum bed (not from print to tape) so I had to pull out a slab of glass just to get a full print going - works well! #stablebot
The pattern of drying pei/superglue dust from a resurfacing is always interesting!! But it's nice to have all the accidents repaired and a fully usable surface again! #stablebot

Ringing test print off of my #stablebot core. 200mm/s (real) 1.5k acceleration on my y axis side. Not too shabby! Now printing one without the pavers stone to see the difference! #3dprinting
New #3Dprinting head for my #stablebot slinger - uses a CAN toolboard so it only requires 4 wires to connect and still has all the other fun bits! It's missing a part cooling fan, but otherwise is fitting well and will be able to be swapped with 3 screws!
First ever #stablebot slinger #3dprinter for a customer headed out the door right before christmas! Hopefully a good start to many more! :)
The frame is up! Next: rails and z axis! Early preview of the electrical cabinet as well. #stablebot #3dprinting
#Klipper is magic. Tried running a resonance tune for input shaping, but barely got a single ring outta it. This is the Y axis on a Bedslinger, for example. Top of the ring is 6k accel. Bonkers. #3dprinting #stablebot
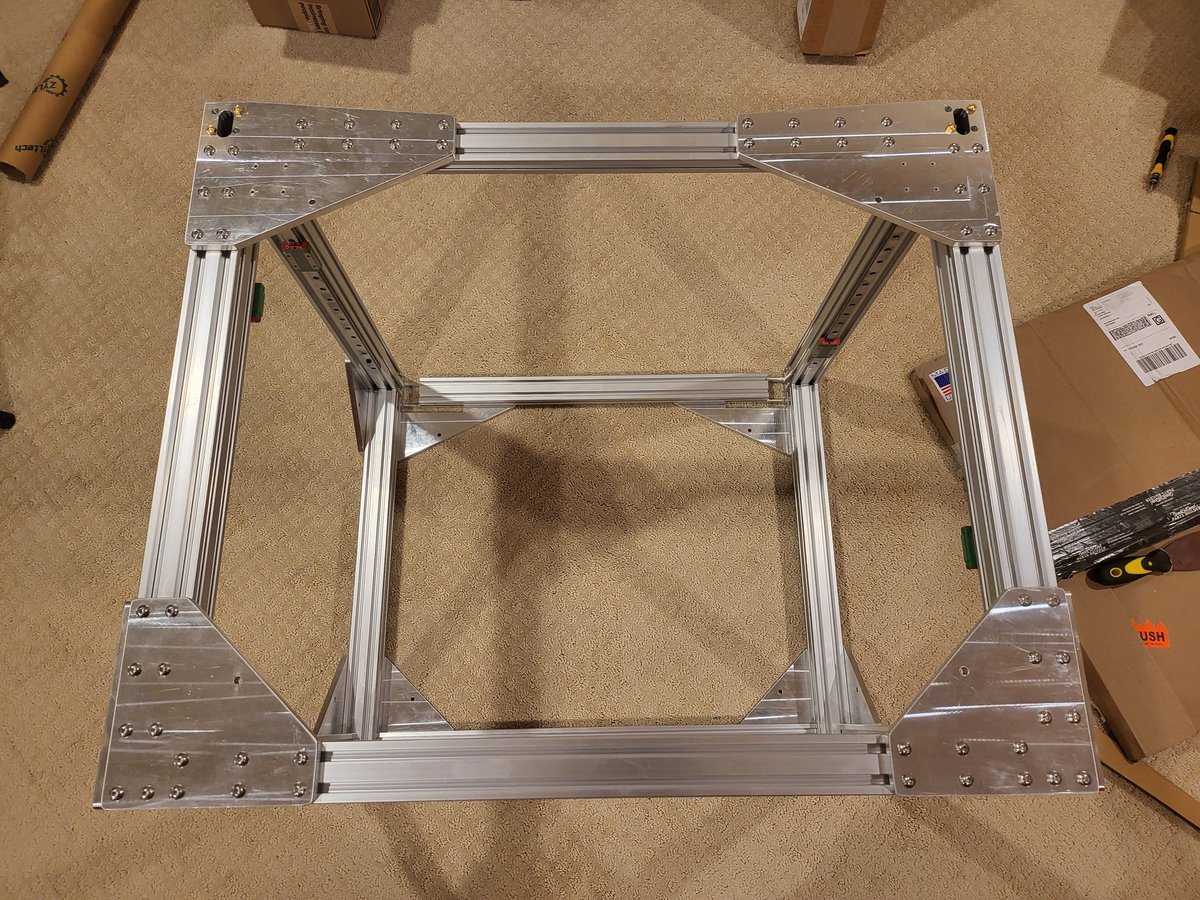
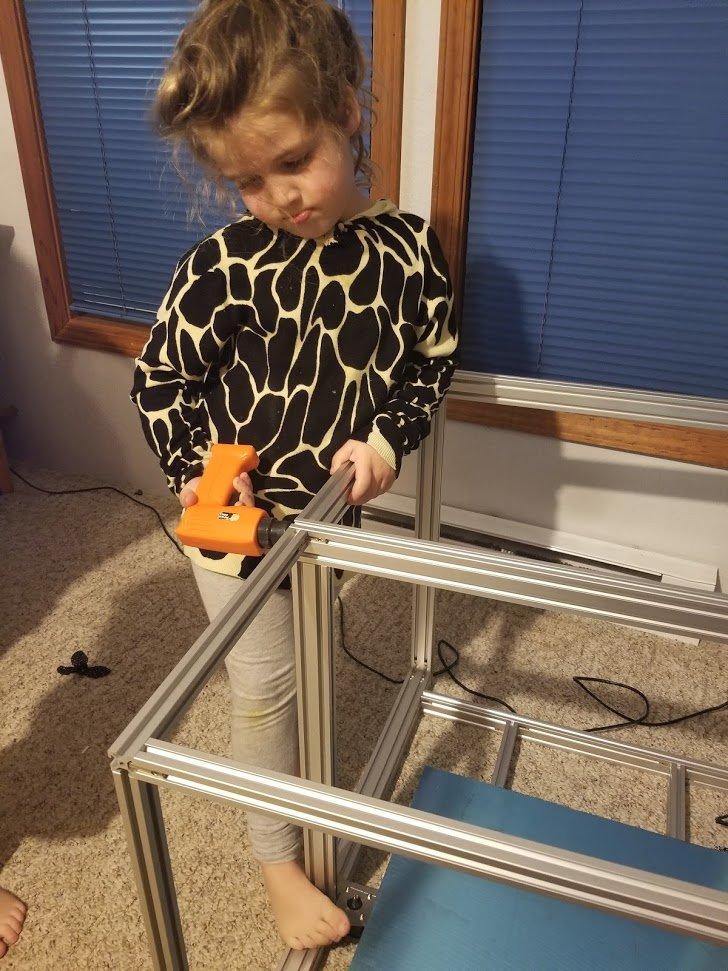
Test fitting #stablebot slinger extrusion, it's gonna be a big bot! 400*400*400 print volume, the extrusion fully captures the travel range for easy enclosure. Will have a blog post up later this week.
Something went wrong.
Something went wrong.
United States Trends
- 1. #BTS_ARIRANG N/A
- 2. namjoon N/A
- 3. Like Animals N/A
- 4. hobi N/A
- 5. jungkook N/A
- 6. Body to Body N/A
- 7. Into the Sun N/A
- 8. Luka N/A
- 9. hoseok N/A
- 10. Merry Go Round N/A
- 11. No. 29 N/A
- 12. Latto N/A
- 13. One More Night N/A
- 14. Eid Mubarak N/A
- 15. #thepitt N/A
- 16. BANGTAN N/A
- 17. Saint Louis N/A
- 18. YOONGIS N/A
- 19. Robby N/A
- 20. BTS IS BACK N/A